June 2014

June 2014
Showing posts with label flowers. Show all posts

Monday, January 5, 2015

"Fly" Mixed Media Canvas for Creative Embellishments!!!!

Hey there crafty friends!!!  I hope you are having a beautiful start to your new year thus far!!!  I'm popping in today with a mixed media canvas using all kinds of Creative Embellishments goodies!

Here's a look:
canvas1


I started by creating my background using various acrylics, mists, and other mediums.  I even used the Punchinella Panel as a stencil to add some depth into my background!
DSC07943


I sprayed some white mist onto some glossy paper and stamped the Circles Bokeh Stamp into it and added some more pattern around the canvas!
DSC08001


I altered the Spread Your Wings title with some white mist and a purple gelato, adding a gradient effect!
DSC07938


The Steampunk Dress Form 2 was primed, then colored using various gelatos.  I added a tiny amount of Luminarte paint on the main piece, used a white Signo pen for accents, then sprayed the entire piece with homemade glimmer mist! DSC07953


I finished the canvas with lots of yummy flowers, using the Butterfly Flair to fill in spots and extend the message of the piece!
DSC07999


Well gang... Thanks so much for popping in and have a LUCKY day :-)
brandi

Wednesday, November 5, 2014

So Beautiful Layout with "Rustic Beauty Kit" and Creative Embellishments Goodies!

Hello there fellow crafters!!! It's a new month which means a new kit and new kit challenge over at Frosted Designs!!! This kit is absolutely beautiful... Seriously, I LOVE it more and more each time I look at it!!!

Here's a look at Rustic Beauty:


This kit features the FabScraps "Industrial Chic" collection, as well as goodies from Prima, Maya Road, Ranger and more!!!
I am also up on the CE blog today so there are all sorts of Creative Embellishment goodies on my page!!!
Here's a look:
This is my youngest daughter when she was only six months old (she's four now!). I LOVE how the blue in her eyes stands out in the photo, so I decided to add pops of blue in my page as well!! 

I started my background work using various gelatos for contrasting colors, gesso to tone it down, then stencils with molding paste and india ink. I also used the Circle Bokeh Stamp to add some depth and one of the cages from the four piece bird cage set:


I cut up some pieces of the Mini Brick Panel and colored them using white mist, then added them behind my photo with strips of paper and one of the white tags from the kit.


I created a large flowers cluster down the page using various flowers from the kit and some from my stash, tucking in odds and ends from the kit as well as a piece of Butterfly Flair for detail!


I finished the page with one of the fussy cut plates from the kit and part of the She's So Beautiful title from the CE Store, colored using white mist and a blue gelato!


Well gang...  Thanks so much for stopping in!  Have a LUCKY day :-)


Saturday, November 1, 2014

So Thankful for Family with Creative Embellishments!

Hello everyone!!!  We are already in November (which means Christmas is literally right around the corner) and I am so enjoying this cooler weather! 

I'm here today with a scrapbook layout I created for the NEW November Challenge posted at Creative Embellishments!
Here's this month's inspiration photo:

Oh, how I truly LOVE the colors of Autumn!!  I recently did some "pumpkin painting" with the girls which created the perfect picture for the above photo!!!
Here's my page:

Yes, I know, my girls are beautiful!!!  Yes, I toot my own horn frequently when it comes to my girls.... They are my WORLD!!!!!
I used papers and embellies from the Garden of Abundance kit and We Are Family kit from the Frosted Designs Store.
I started my page by creating my background using a Prima "Rattan" 12x12 stencil and some molding paste.  I kept it pretty simple as the paper does most of the work here!  I added some of the "rings for so many things" from the CE Store which were colored using distress inks and Luminarte Silks Acrylic glazes.


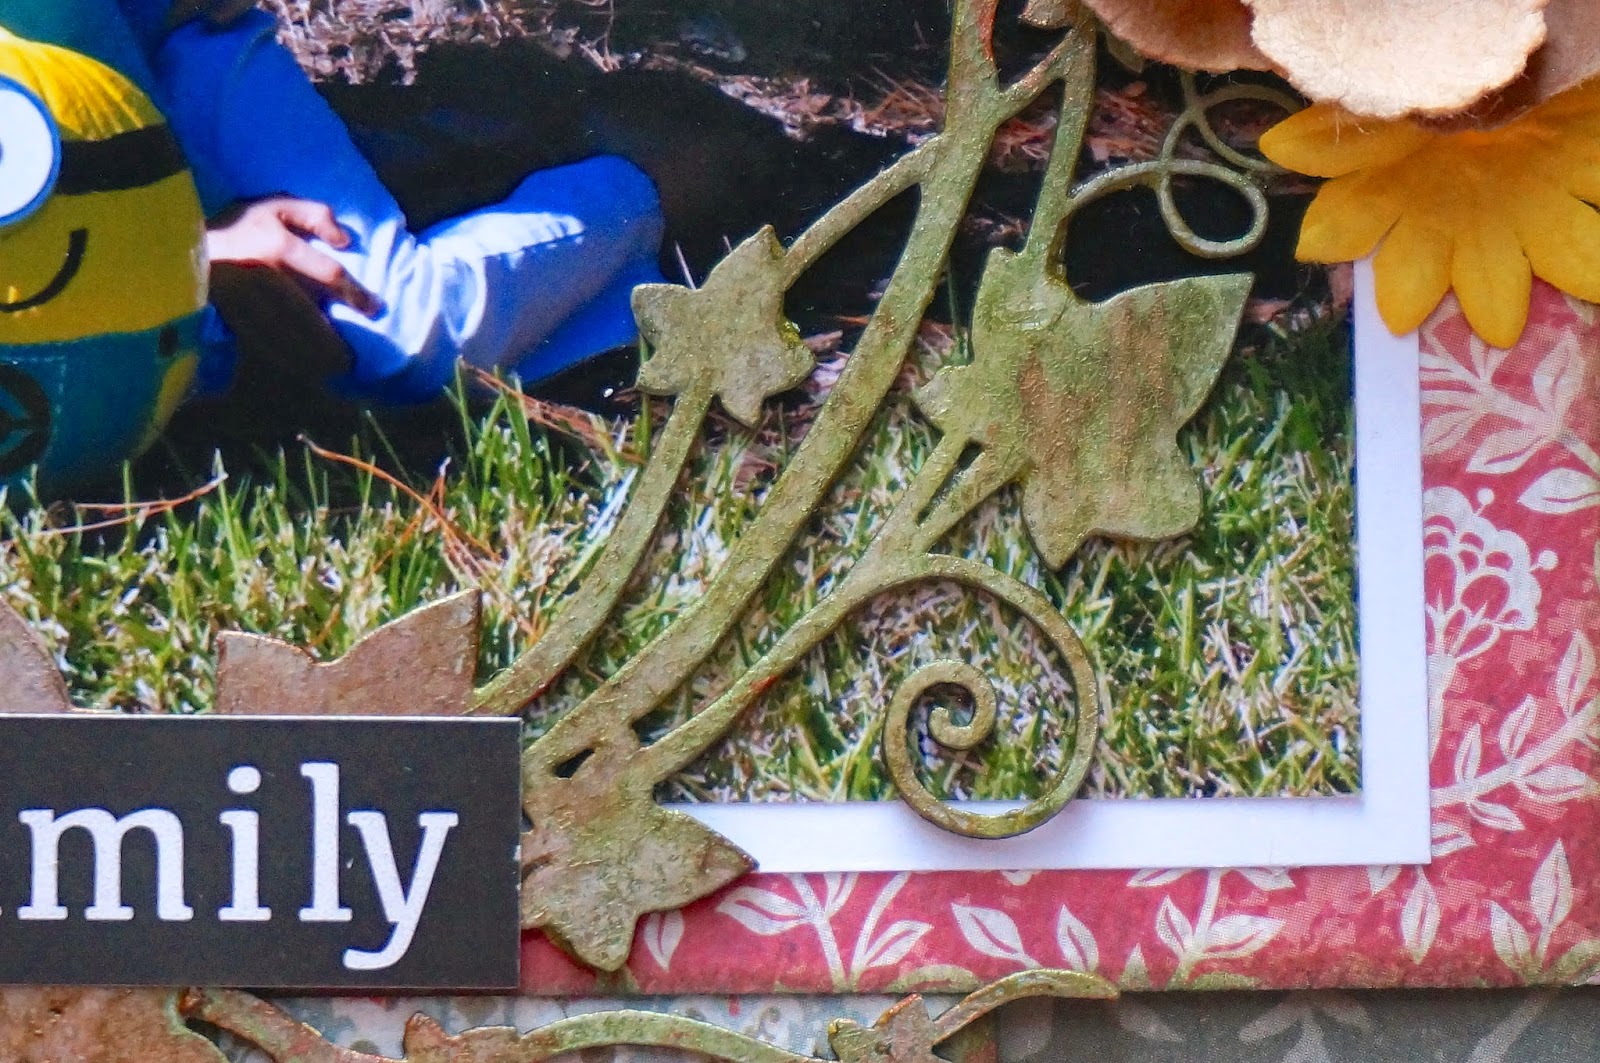
I applied the same technique to the Ivy Wreath, coating it with distress crackle paint for a glazed over look, then using it as a frame for my pic!


I finished the page with some flower clusters and stickers!


Well gang...  Thanks so much for stopping in and have a LUCKY day :-)

 photo 84c064ac-ab01-4e94-bb12-3b3893d8f8eb_zpsabe08004.png

Friday, June 20, 2014

Frosted Designs Friday Challenge with Prima Seashore Collection!!!

Hello all and happy Friday!!!  It's time for another wonderful Friday challenge over at Frosted Designs!!!

This challenge is to create any type of project using the following moodboard:


Isn't it lovely?!?  The NEW Prima Seashore Collection in store was perfect for this challenge!!!!

I also used the month's card sketch from Cardabilities:

Here's a look at a card I made:


I'm truly in love with the colors and soft patterns in the collection!!!  
I started with a Kraft Base for my card and began cutting up the papers I wanted to use, inking the edges of each with Prima's Knotted Wood ink.  After layering up my papers, I started adding some coordinating chipboard pieces, inking them up as well!


I used the word stickers from the collection to create my sentiment, adding various other stickers and a metal clip also!


I finished the card with a dragonfly I created using the new Prima Wire Thread in store!!!  This stuff is really fun to play with... The possibilities are endless!!!!


So there you have it!!!  A quick and easy card using nothing but wonderful products from the Frosted Designs Store!!!


Well gang...  Thanks so much for stopping in and have a LUCKY day :-)
 photo 84c064ac-ab01-4e94-bb12-3b3893d8f8eb_zpsabe08004.png

Saturday, May 24, 2014

Prima Princess Spring Bouquet with Cricut Explore!!!

Hey there crafty neighbors!!! I'm popping by the blog today to share a fabulous Spring Bouquet I recently made using the beautiful Prima Princess Collection in the Frosted Designs store!!!
 
Here's a look at this project:
 
I knew when I saw this collection exactly what I wanted to do with it!!!  I used my Cricut Explore and Giant Flowers cartridge to make all t e necessary cuts!  There are several other ways to make handmade flowers though!  You can use heart punches or dies, flower punches or dies, or even cut out the petals by hand and attach them to create large, beautiful flowers!


I started by cutting out all the petals in random papers from the 6x6 paper pad, then inked the edges with the "Knotted Wood" ink included in this month's kit!  I rolled the edges over various size paint brushes for a more "natural" look:


Here's a look at all three complete finished:

After I finished the top parts, I hot glued some long lollipop sticks to the base in bundles of three for dimension.  Then I grabbed coordinating ribbon colors and wrapped the base of each:
 
I finished all of them with a small bow!

After my flowers were complete, I started on my "vase" (altered mason jar!).

I used the wood icons included in last month's "Beauty of Nature" kit as well as a large Prima flower from the store!  I colored my flower with Lindy's Starburst Pearls mist and inked it with the "Knotted Wood" ink.  I wrapped some tinted rose ribbon around the jar and a small strand of pearls.


Once everything was all said and done, I added the flowers inside the jar and finished it off with a little hemp cord!!!


Well gang...  Thanks so much for stopping in and have a LUCKY day :-)

Products from the Frosted Designs Store:

Saturday, March 1, 2014

March 1st Challenge at Colorful Creations!!!

Hello all and happy Saturday!!!!  Such a busy week around here...  Ready for this weekend!!!

"Treasure" Layout using Authentique "Flourish" and Suave" Collections
Today, we welcome a new month, and a new challenge over at Colorful Creations!  This challenge is an inspiration challenge with a twist...  Here is the inspiration photo:


The twist?!??  To use the word LUCKY on your layout.  (Well everyone knows how much I LOVE that word, right!??!?  Hahahaha!!!!!)

And here is my layout:


I am really loving the new Authentique paper lines!!!  The paper is fabulous and the colors are just gorgeous :-)  They are also included in the March Kit from Frosted Designs (which I used to make this page)!!!!!

I used a black background paper from the kit and added a little detail in various areas.  I used the Tim Holtz layering stencil (clocks) and some molding paste tinted with Lindy's Stamp Gang "Magicals" to add some texture to the page.  I also used the white gel pen from last month's kit to create the "faux" stitched border around the clock.  The kit comes with fabulous Kaisercraft wooden butterflies and I just had to have one on this page!  I first stamped one of the Prima Stamps in the kit directly onto the wood using Versamark ink, then heat embossed it to create a resist.  I colored it with the African Jade Luminarte Paint included in the kit and some LSG Sunburst Sprays.  I topped off the butterfly with gold Perfect Pearls (by Ranger) to tie in the gold from the inspiration photo.  


I created small clusters of flowers by Prima and Kaisercraft, applying Gesso to the tops of some of them.  I also found these fabulous chipboard pieces from Creative Embellishments that were coated with gesso as well.  


I used the tiny sticker letters from the kit to add the word "Lucky" on the side of my picture.  


I finished off the page with the Kaisercraft rub-ons and black brads from the kit as well.  I sponged the trim from the kit with the Luminarte Paint mentioned above and placed it below the title.


And there's my completed page!!!  Thanks for looking :-)


Well gang...  Thanks so much for stopping in and have a LUCKY day :-)