June 2014

June 2014
Showing posts with label frosted designs. Show all posts

Friday, May 22, 2015

Frosted Designs Friday Challenge: String Art!!!

Hello everyone!!!  I know it' been a while since you've heard from me.  Most of you are aware that my mother passed away earlier this year and everything has really been hectic ever since! 
 
Any who, I'm on the blog today with an altered frame I made for my mother's best fried using last month's kit from Frosted Designs.  It features the Heidi Swapp "Wanderlust" collection :-)
 
Here's a look:
 
 
I covered the frame with some of the paper from the kit, then used trim, flowers and embellies from previous month's kit to beautify it ;-)
 
I added some flowers in the bottom left corner as well as a metal clock from Tim Holtz.
 
 
This challenge is "string art" which is to incorporate string in your project.  I used one of the wooden embellishments from the last month's kit, colored it with gold mist and a gelly roll pen, then added small bits of blue twine for detail!
 
 
I misted the color magic title pieces with gold and added them to the frame!
 
 
I finished the frame with some yummy Creative Embellishments chipboard.  The chipboard was misted with white spray, then I used a gold marker to add polka dots!


Well gang...  Thanks so much for stopping in and have a LUCKY day :-)
 

Wednesday, April 22, 2015

Case File 160 for CSI: Creative Embellishments Guest Design Team!!!!

Hello everyone!!  Creative Embellishments is one of many sponsors this month over at CSI and this is my take on Case File 160!

Just a reminder, here are the details for the case:
(I highlighted all my "evidence" and "testimony" details in red! This is my VERY FIRST time playing along with CSI and it was quite enjoyable :-) )
160 flat

Here's a look at my page using last month's "Out of the Blue" Kit from Frosted Designs:
Phototastic-2015-04-21-19-17-04


I started by creating a background to the bottom half of the frame (or decorative border, whichever you prefer!) using a mixture of Gelatos and Lindy's Magicals over a primed surface (gesso).  I did some second generation stamping using one of the Damask Stamps from the Damask Stamp Set, then added texture with glitter paste and a Tim Holtz Stencil :-)
DSC00648 (2)


I used a transparent overlay for my pic and some paper ribbon to frame it with a circle!
DSC00652 (2)


I used Tim Holtz "Forest Moss" Distress ink to edge my papers for the green color, then distressed slightly with my scissors.  I tucked my journaling behind my photo, documenting our trip to Jamaica and Grand Cayman aboard Carnival Cruise Lines! I also used a Prima metal "This Way" sign for the subtitle as shown in the sketch :-)
DSC00653 (2)

I finished the page with a variety of flowers and a "Journey" flair piece (travel element) from the Nautical Set l Flair set in the CE Store!
DSC00685 (2)


Here's a close-up of the second generation stamping behind my photo piece, and also the heart I added that was inspired from the picture scene!
DSC00689 (2)

Well gang...  Thanks so much for stopping in and have a LUCKY day :-)

Wednesday, March 25, 2015

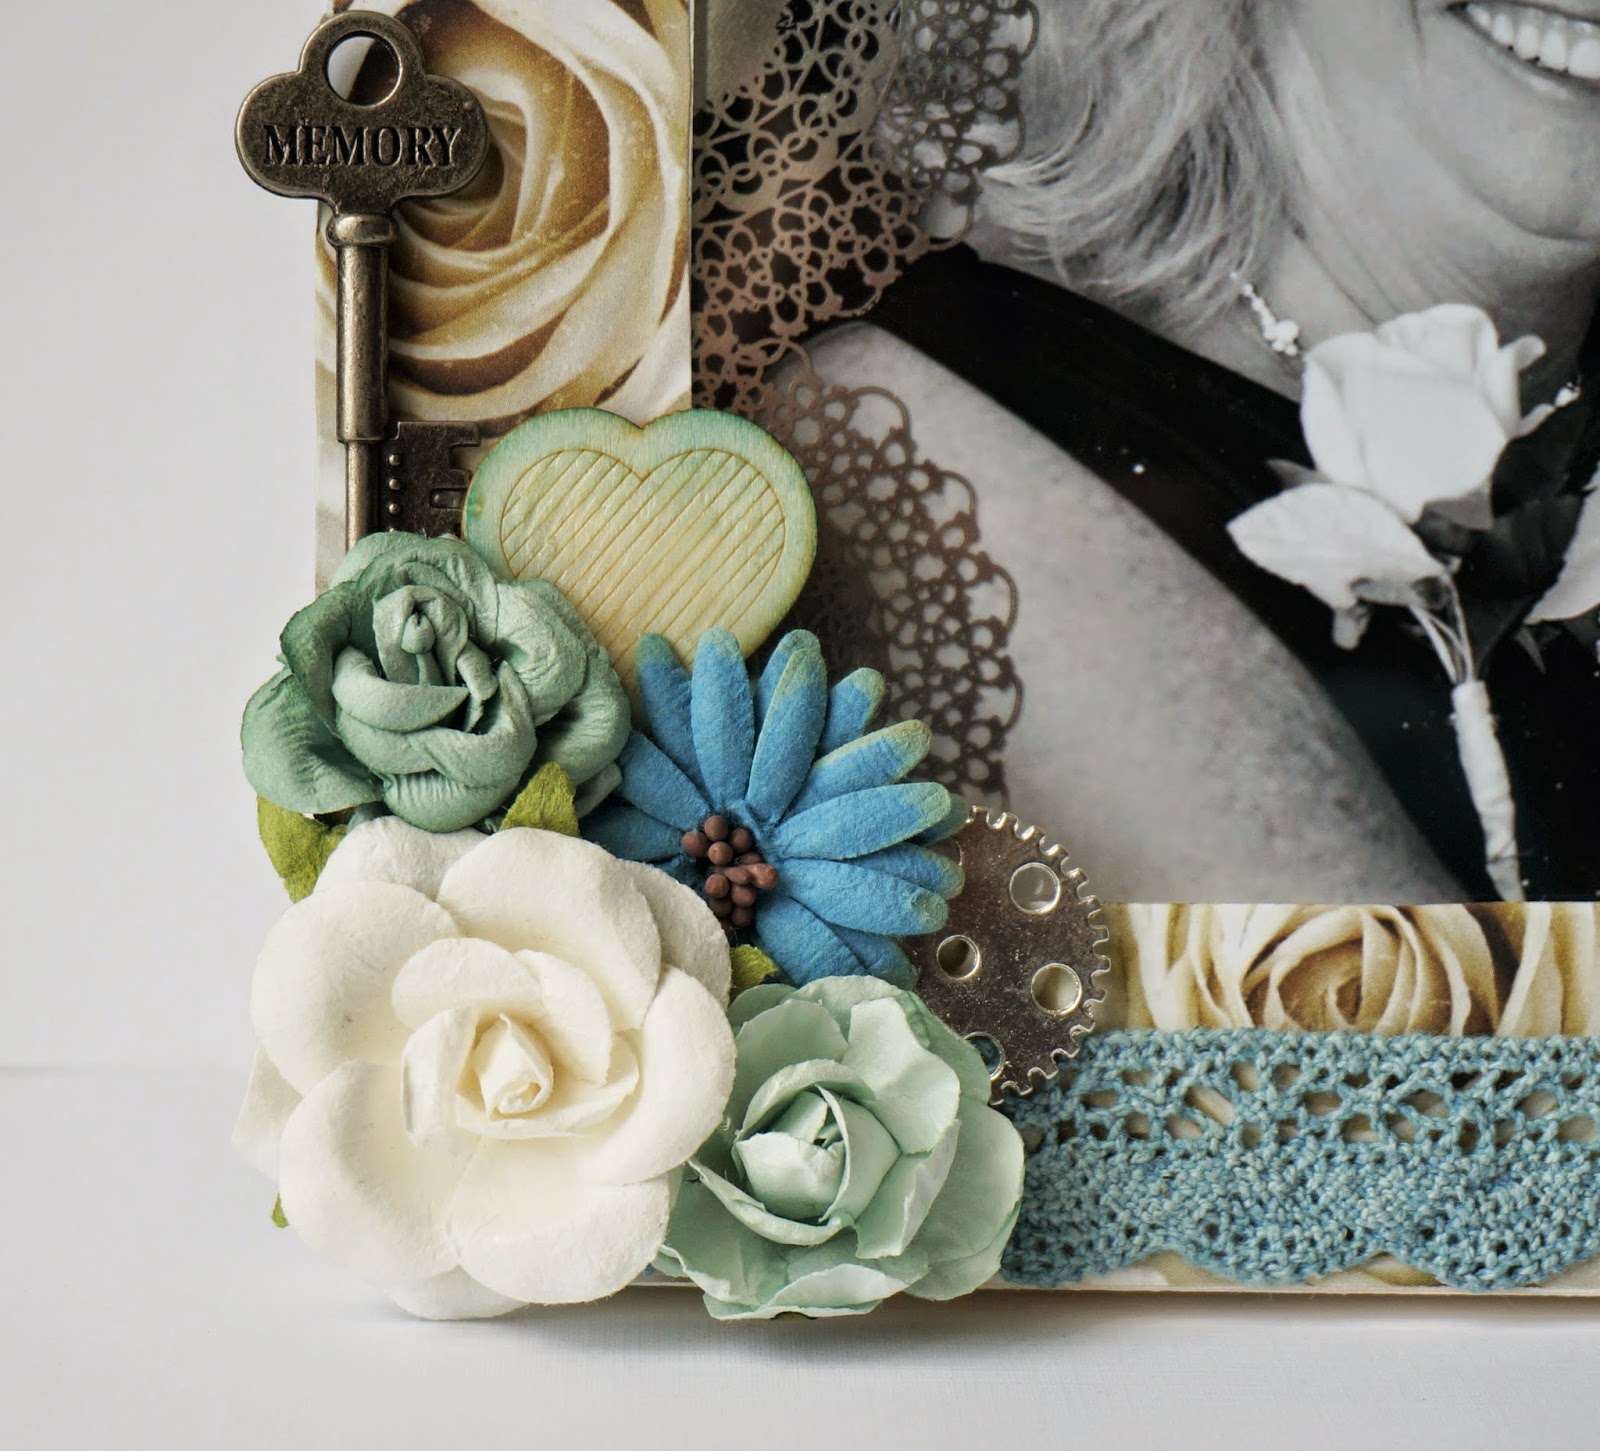
Altered Frame using this Month's Out of the Blue Kit from Frosted Designs!!!!

Hello again crafters!!!  It's Brandi popping in from the Frosted Designs Blog with an altered frame using this month's beautiful kit!

Here's a look at the frame:

As most of you know, my mother passed away last month which has been the cause for my absence over the past few weeks.  I've decided to make some tribute frames for members of our family so I'm sure you'll be seeing her quite a bit in the upcoming months ;-)

I started by covering the frame with one of the beautiful papers from the kits after I painted the simple wooden frame white (Picked up the frame for $1.00 at my local craft store).  I added in my photo, covering it using the silver doily overlay from the add on kit!


I added flowers and embellies from the kit in adjacent corners to add some pizzazz!


I used some of the Ranger blue mist from a previous kit to dye my trim from this kit blue, then added it across the bottom for contrast against the white background!


I finished with a number of the wooden embellishments that were inked using distress ink, then I added a bit of the crackle accents from the kit for added shine!


Well gang...  Thanks so much for stopping in and have a LUCKY day :-)


Tuesday, March 10, 2015

Tutorial Tuesday at Frosted Designs: Masculine Card!!!!


Hey there crafters!  I've been absent for a bit, I know.  My mother recently passed, unexpectedly, which has caused my entire life to turn upside down at the moment.  I am doing everything I can take it a day at a time, and sometimes, even a moment at a time.  But there's no doubt, this has been by far, the hardest thing I have ever gone through.  


I'm up on the Frosted Designs blog today with a masculine card tutorial.  I used this month's beautiful kit and some stamps from Creative Embellishments to make this wonderful card perfect for any occasion!

Here's a look at my card:

Here's the link to my Snap Guide Tutorial:


And some close-ups:


Here I used the Binary Stamp and Distressed Burlap Stamp from Creative Embellishments for my background, then used some molding paste over the Crocodile Stencil included in this month's kit from Frosted Designs :-)


I used some Lindy's Tornado black mist to color my Harlequin Lattice chipboard panel from CE and added some of the crackle accents included in this months kit :-)

Well gang... Thanks so much for stopping in and have a LUCKY day :-)


Thursday, February 12, 2015

Designing with Creative Embellishments for Scrap Around the World!!!!!

Hey there folks!!!!  I have some very exciting news today:  Creative Embellishments is guest designing over at Scrap Around the World this month!!!!  Isn't that fabulous?!?!?!?!  

Here is this month's amazing mood board over at SATW:


I LOVE the colors and the overall theme of the board. I used several aspects to create the following page of my oldest daughter:


As you can see, I clearly was inspired by some of the colors (greens, browns, and whites!).  The bottom three pictures give me an overall "explore" feeling so I included that as my title, using the pattern of colors from the boat to color my actual title piece!  I used lots of flowers, drawing inspiration from the first photo, and a "wood" background from the bridge in the middle bottom row!

I used several CE goodies on my page, altering them in different ways!
I started by creating a background using black distress inks and the Binary , Distressed Burlap, and Distressed Checkered   Stamps from the store.

I drew some squares with water color pencils, adding small amounts of water to soften them out, then added a number of nesting Squares around the page, coloring them with different distress markers!

Using a stencil and molding paste, I added some texture to my page, stamping over top for more depth :-)

I used the Explore title from the Adventure Word Set, coloring it with distress markers, then adding a coat of crackle paint in rock candy for some texture!

I finished the page with a big heap of various flowers to throw in some color and girly-ness!!!!!


Well gang...  Thanks so much for stopping in and have a LUCKY day :-)


Tuesday, February 10, 2015

Making Your Pages "Pop" Tutorial for Frosted Designs!!!

Hello everyone!!  It's Brandi here today to share a quick tutorial with you on how to really make your pages stand out!  It works really well on this month's kit with the soft pinks and light hues of the papers and embellies :-)

Here's another look at this month's "Sweet Love" kit:


Yum, yum, yum!!!!  In love with this one!!!

And here's a look at my page:

See how everything just "pops" against the background?!?  Doesn't it look fabulous?!?  Want to know my trick?!?  A sharpie marker!  Yep, it's really that simple!  No mess, no fuss :-)

Here's a little tutorial to show you how to achieve this result :-)


And here are some close-ups:
I LOVE the zipper pulls in this month's kit!  They truly add a touch of elegance to every page!


I even use the sharpie to outline my stickers and die-cuts!  


Using a butterfly punch and papers from the kit, I created 3D butterflies :-)

I used stickers from this month's kit and goodies from past month's kit to create my large flowers cluster under the photo!

And there you have it!

Thanks so much for stopping in and have a LUCKY day :-)


Sunday, February 1, 2015

Things I Love with for Creative Embellishments with Romance Novel, Chapter 2!!!

Hello all and welcome to a new month!  February is here which means a month full of all the things I love!!!

Today is the 1st which means a new challenge over at Creative Embellishments!
Here's a look at the inspiration photo: (The twist this month is to use an ombre effect on your chipboard/ create a background!)

My two girls are on the top of my list for things I love so it's no surprise I would use a photo of one of them!  
Here's my page:


I used the "Forever Yours" kit from Frosted Designs to create the page and a variety of CE goodies!
I created my background with various stencils, molding paste, gelatos, and Lindy's magicals until I achieved my desired effect!

I added some stamping with the Distressed Checkered Stamp with black distress ink!

I love flourishes and added one from the Flourish 22 set, adding my ombre effect with a number of different gelatos!

I layered on tons of papers, distressing them along the way, and added some liquid pearls for accents!  I finished with a flower cluster and a wooden heart from the Hearts set, adding another ombre effect to that one as well!


Well gang...  Thanks so much for stopping in and have a LUCKY day :-)


Thursday, January 29, 2015

"Dream" Card using "Forever Yours" January Kit from Frosted Designs!!!

Hello again friends!!!!  I'm here today with a card I made using this month's beautiful Forever Yours Kit from Frosted Designs!!!

The colors are truly amazing and the papers and embellies all go together so well!!!  
Here is my card:
  

These papers are "dreamy" indeed!!!!  I used a variety of papers from the kit to create my "base", then started adding on my desired embellishments!


The grossgrain trim in the kit goes beautifully with everything, doesn't it?!?


I finished my card with a stamped sentiment from my stash and a black card base!


Well gang...  Thanks so much for stopping in and have a LUCKY day :-)