June 2014

June 2014
Showing posts with label november. Show all posts

Thursday, November 20, 2014

Joyeux Noel for Creative Embellishments!!!

Hello again crafters!!! I don't know about you but the weather here has certainly taken a dip... Cold air is moving in which means winter (and one of my FAV holidays!!!) is right around the corner!!

Today I am sharing a Christmas card I made using some wonderful Creative Embellishment goodies and sketch #111 over at Cardabilities:


Here's a look:


I used this month's Rustic Beauty kit from Frosted Designs (designed by yours truly!!) to create the card.

I first created the background by adding some molding paste through a layering stencil, then doing some "second generation" stamping with the "Distressed Burlap" stamp.


As you can see, the Steampunk Clock is the "main attraction" here on the card. I colored it using some mixed media ink and shimmer mist, then layered up various flowers and die-cuts.
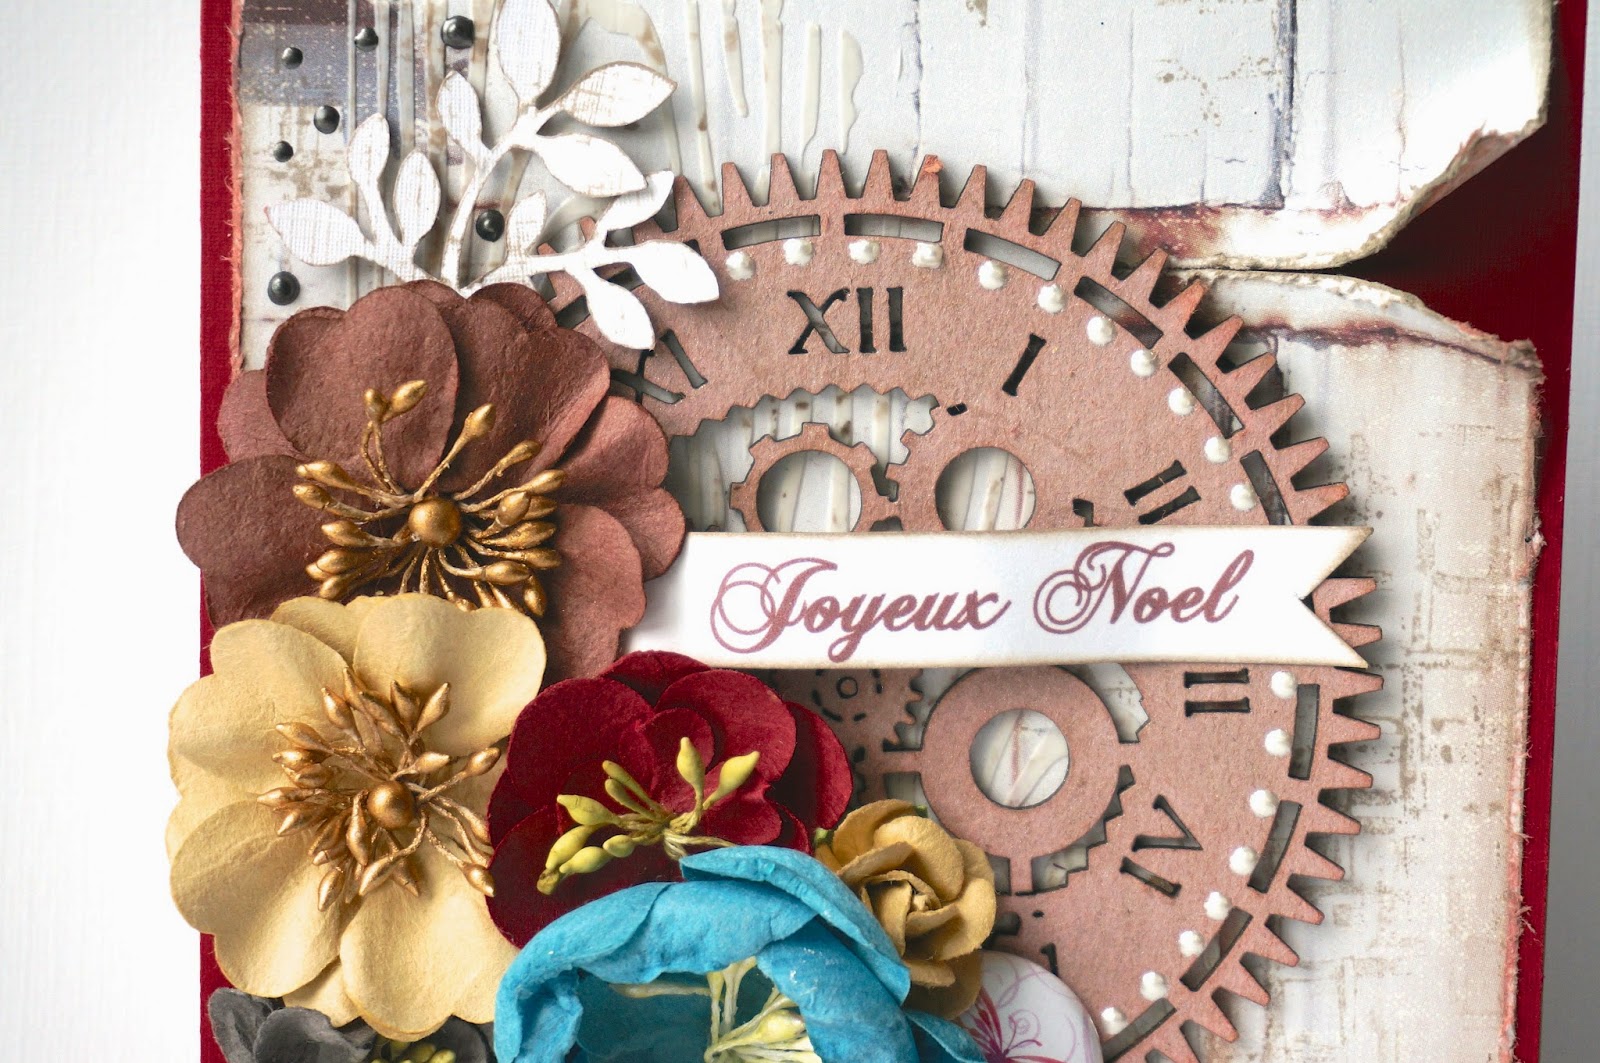

I was also able to sneak in one of the butterfly flair pieces (these make GREAT fillers for ANY cluster!!!) to finish off the card!


Well gang.. Thanks so much for stopping in! Have a LUCKY day :-)


Tuesday, November 18, 2014

Tutorial Tuesday: Altered Tag with Frosted Designs

Hello everyone and happy Tuesday!! It's Brandi here today with a quick mixed media/altered tag tutorial using this month's fabulous Rustic Beauty Kit!!

First, here's another look at this month's kit:

Isn't it amazing?!?!

And here's a look at the tag I created using goodies from the kit:


Isn't it lovely?!? I just love the colors in this kit and the goodies to play with :-)  Here are the steps to create the look!


1.  Grab one of the tags, ink, and something to apply the ink.
1.  Create a base on the tag using the ink and stencil included in the kit.
2.  Using the same ink, go around the edges of the tag.


4.  Grab the marker, stamp, and mini mister.
5.  Color directly on the stamp with the marker and mist a small amount of water.  Stamp over tag sporadically until you receive your desired look!
6.  Add some of the die-cuts from the kit around the tag and distress the edges.


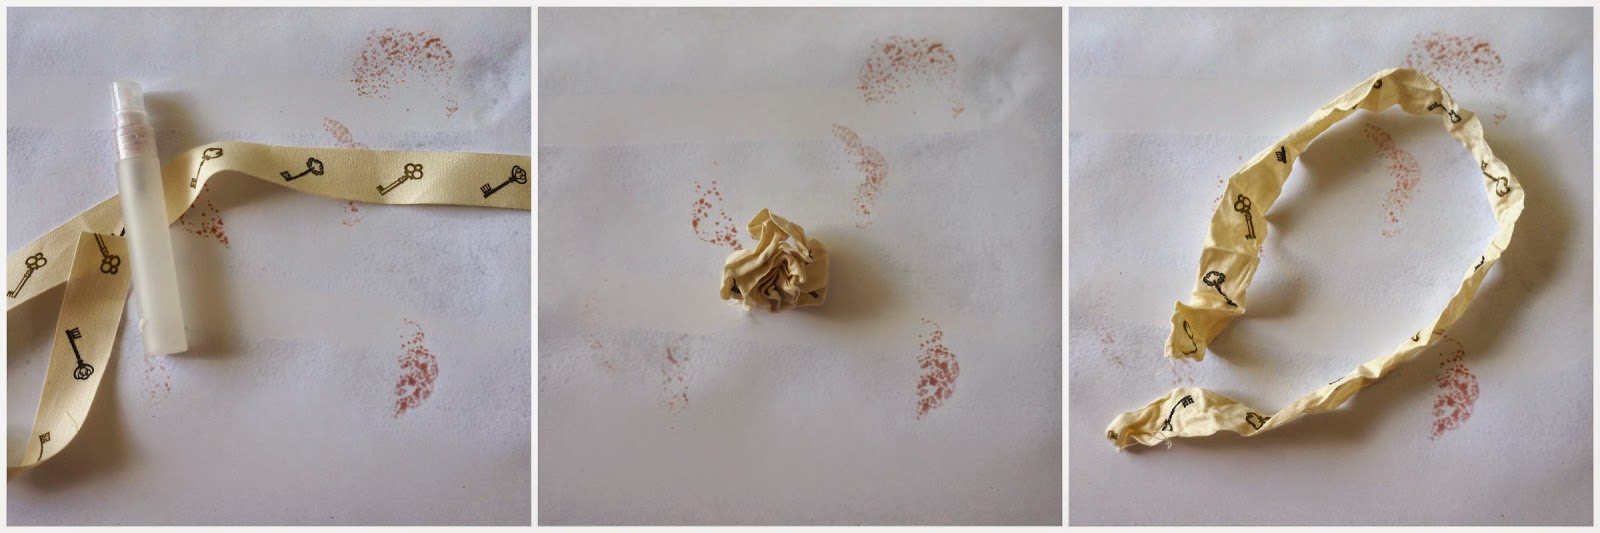
7.  Grab some of the trim from the kit and mini mister.
8.  Mist a generous amount of water over the trim and crinkle it up.
9.  Once dry, unravel the trim and use for bow!


There you have it gang!!!  Can't wait to see what you create!!!!!