June 2014

June 2014
Showing posts with label Cricut. Show all posts

Monday, July 14, 2014

Reveal for Week 2 Sketch Challenge at Let's Get Sketchy!!!

Hello there crafters!!!  I hope you are having fabulous weather in this hot July we are having!!!

I'm here today with an amazing new sketch challenge over at Let's Get Sketchy!
Here's a look at this weeks' sketch:


And here is my page:


This is my first attempt as using a large die-cut in my background so I had quite a time! 
I used a cut file from A Cutt Above the Rest for my background die-cut, then inked it with a number of different distress inks and misted it with black Dylusions mist!  After it was dry I matted it with smooth white cardstock.  


I added my photo (this is my oldest daughter on a cruise we took last year! This giant octopus sculpture is on the ship!  I made a flower cluster to the corner of my pic with machine cut die-cuts and hemp cord!


I knew I wanted to use the "Summertime" title from Creative Embellishments for this page.  I applied a thin coat of gesso atop of it,  a small amount of molding paste for texture, then added Spiced Marmalade Distress Stain.  Once dried, I applied Smooch Accent ink in Sundance for some shimmer!


Here's another close-up of the texture and mixture of mediums :-)


Well gang..  Thanks so much for stopping in and have a LUCKY day :-)

 photo 84c064ac-ab01-4e94-bb12-3b3893d8f8eb_zpsabe08004.png

Tuesday, July 1, 2014

Festive Embroidery Hoop for CMS Challenge #65!!!!

Hey there everyone!!!!  Can you believe we are already in the month of July?!?  That's crazy!!!!!

It's a new month with lots of new challenges going on!  The first is a color combo challenge over at Color Me Scrappy!  Here's a look:


Since we also need to make this about a celebration, I decided to rock the 4th of July!!!  It's a HUGE holiday here in the USA and it's also our Independence day!  
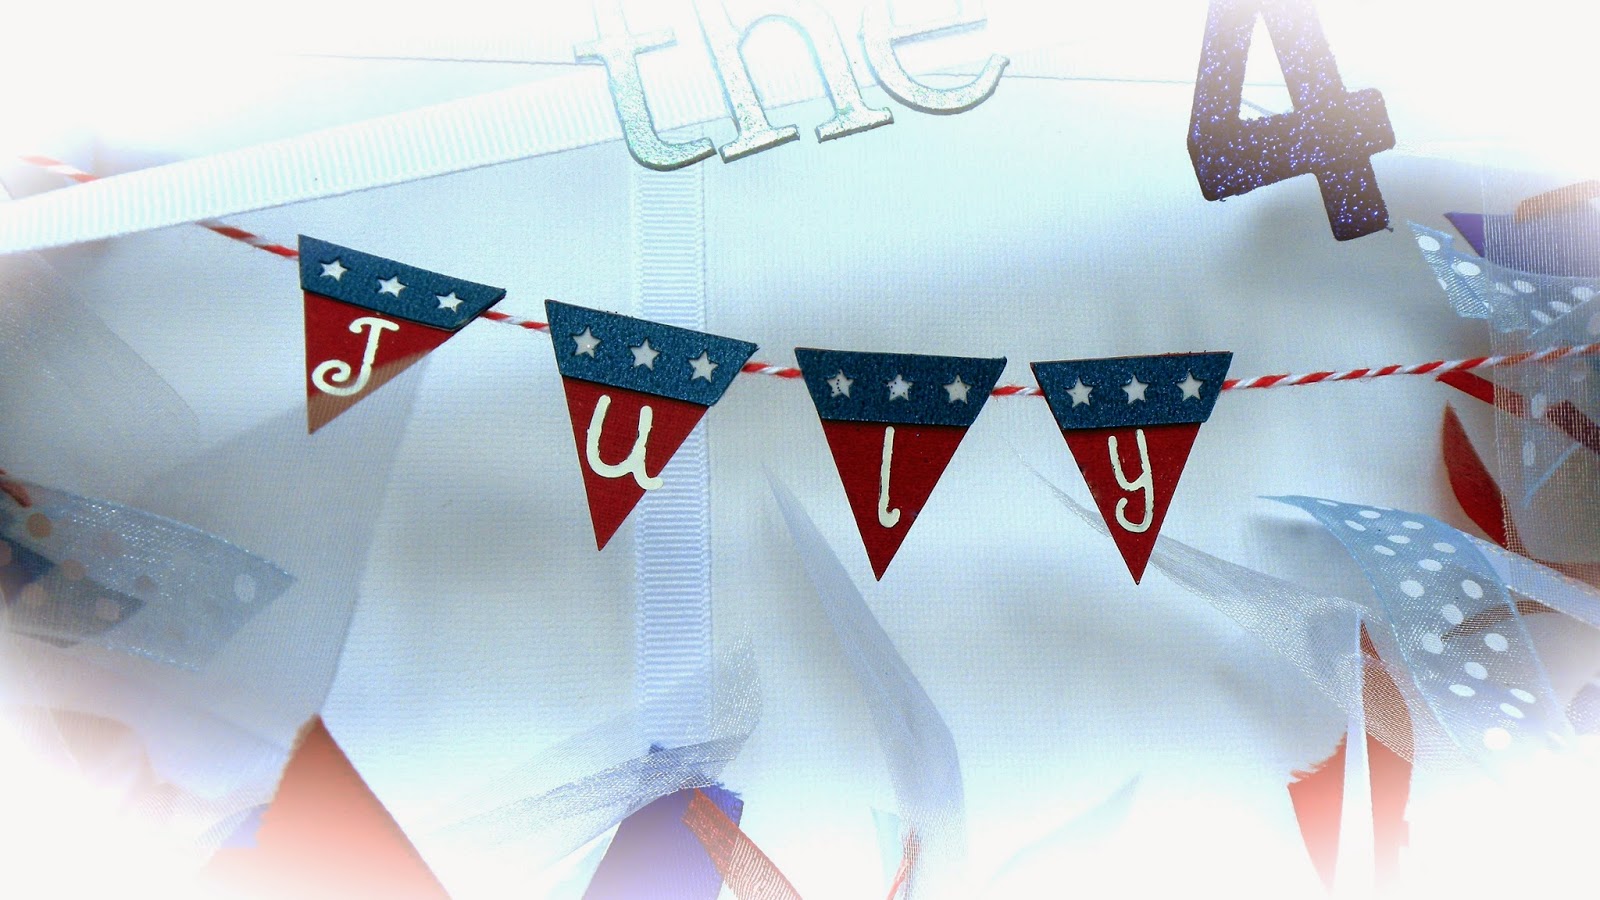
Here is a look at an altered embroidery hoop I made for this special day:


I have to be honest here...  This looked a whole lot different in my head!!!!  I came up with this idea of just tying various pieces of ribbon around the embroidery hoop and it would look fabulous!!!  Well, I did wrap a TON of ribbon around the hoop, but I'm still up in the air about the finished piece!!!  


I used my Cricut Explore machine to cut out the banner pieces, then attached some twine to them to hang them from the sides!


I grabbed various chipboard letters and the number four from my stash, then painted them and added some glitter!!!!


I used some of the same ribbon to tie a large bow at the top, then added a red, white, and blue button threaded with the red and white twine!


I finished the wreath with tiny red bows all the way around for a little extra detail!!!


And there you have it...  A celebratory wreath for one of our biggest holidays!!!


Well gang..  Thanks so much for stopping in and have a LUCKY day :-)

 photo 84c064ac-ab01-4e94-bb12-3b3893d8f8eb_zpsabe08004.png

Saturday, May 24, 2014

Prima Princess Spring Bouquet with Cricut Explore!!!

Hey there crafty neighbors!!! I'm popping by the blog today to share a fabulous Spring Bouquet I recently made using the beautiful Prima Princess Collection in the Frosted Designs store!!!
 
Here's a look at this project:
 
I knew when I saw this collection exactly what I wanted to do with it!!!  I used my Cricut Explore and Giant Flowers cartridge to make all t e necessary cuts!  There are several other ways to make handmade flowers though!  You can use heart punches or dies, flower punches or dies, or even cut out the petals by hand and attach them to create large, beautiful flowers!


I started by cutting out all the petals in random papers from the 6x6 paper pad, then inked the edges with the "Knotted Wood" ink included in this month's kit!  I rolled the edges over various size paint brushes for a more "natural" look:


Here's a look at all three complete finished:

After I finished the top parts, I hot glued some long lollipop sticks to the base in bundles of three for dimension.  Then I grabbed coordinating ribbon colors and wrapped the base of each:
 
I finished all of them with a small bow!

After my flowers were complete, I started on my "vase" (altered mason jar!).

I used the wood icons included in last month's "Beauty of Nature" kit as well as a large Prima flower from the store!  I colored my flower with Lindy's Starburst Pearls mist and inked it with the "Knotted Wood" ink.  I wrapped some tinted rose ribbon around the jar and a small strand of pearls.


Once everything was all said and done, I added the flowers inside the jar and finished it off with a little hemp cord!!!


Well gang...  Thanks so much for stopping in and have a LUCKY day :-)

Products from the Frosted Designs Store:

Thursday, May 22, 2014

School Project with the Cricut Explore!!!

Hello everyone!!  It's another busy week here in the Matos home!!  My daughter had a school project to do and I think I was more excited than she was!!!  Hahaha!!!

Her task was to make a castle, out of anything she chooses (except food!).  This was the perfect task for my new Cricut Explore!!!  I just simply haven't had the time to use it yet so I was anxious to get to work!!!
Here's a look at the finished castle:


Isn't it just too stinkin cute!??  I wish my mom would have had something like this when I was in school!  I would've aced every project :-)
I used the Once Upon A Princess Cartridge to create the castle, towers, and smaller castles.  I would typically give you the size I cut it at but I just don't know!!!  The Cricut Design Space software is completely different than the Craft Room.  All the pieces are grouped together so there's no way to actually cut the desired piece at a specific size (hoping this gets adjusted later down the road!).  
I used my Sizzix Grand Calibur to emboss the fronts of the smaller castles, then adhered them to the bigger one using my glue gun!


I cut one of the princesses from the Once Upon A Princess Cartridge but wanted something else!  So, I searched for "knight" in Design Space and come across this cute little guy! 


The project required the use of different materials so I had my daughter paint some small popsicle sticks to match the colors of the castle.  I cut a piece off a foam cup for the roundness and attached the popsicle sticks on top!


And what do you need to add to every princess castle?!?  Why, a moat of course!!!  My daughter chose this blue glitter paper to serve as water for her moat.  I cut it using "funky cut scissors" (is that what they're called?!?) and matted it on a neutral cardstock to mimic sand.  I also used a shimmer green cardstock as the base that I adhered to the top of a piece of foam board.


I'm so thankful for my Explore...  It truly made this project a breeze!!!


Well gang... Thanks so much for stopping in and have a LUCKY day :-)


 photo 84c064ac-ab01-4e94-bb12-3b3893d8f8eb_zpsabe08004.png

Saturday, February 15, 2014

Handmade Baby Shower Invitations!!!

Happy Saturday everyone!!!  It is a beautiful day here in sunny Florida!!!  LOVING this weather :-)

Handmade Onesie Invitations Using Cricut "Life's A Party" Cartridge
Just a quick stop in to share some baby shower invites I've been working on this week!  I really wanted to give the "onesie" invites a shot and boy, am I glad I did!!!  I LOVE how these turned out :-)
Here's a look:


Aren't these just adorable?!?  
I used the Cricut "Life's A Party" Cartridge and cut these out on my Cricut Expression 2.  I used my 2" circle punch to create the neckline and leg holes.  I cut out several scalloped circle using the scalloped circle die and my Spellbinders Grand Calibur.  I placed them over the pre-punched areas and cut the excess off with the same circle punch.  
I finished them with Enamel Accents in white to create the "button" appearance down the center.  These were super easy to make and I'm sure I'll be doing them again soon :-)


DON'T FORGET...  Frosted Designs is having an AMAZING Valentine's Sale going on right now!!!!  What are you waiting for?!?  Get shopping!!!!!!!

Well gang...  Thanks so much for stopping in and have a LUCKY day :-)


Thursday, February 28, 2013

It's Amore!

Afternoon my nifty crafters!!! I have a quick page to share with you guys :-)
I FINALLY finished my page for my Creative Monthly Project Challenge at Colorful Creations that starts TOMORROW!!!! Hahahaha!!!! And... I decided to use the February sketch over at Cest Magnifique to complete it!!! Here's a look at the sketch...
 
Isn't is BEAUTIFUL?!?!?  I was so excited to play wit this one.  There is just so much detail! 
So after choosing the sketch I wanted to work with, I had to decide on what my challenge for the month would be.  And I decided DETAIL would be the challenge.  This sketch just gave me so much inspiration to add layer, upon layer, upon layer of papers, flowers, and embellishments.  Here is my final page...
 
 
Isn't it so pretty?!?!?  I wanted to do a "love" themed page so I decided on red, black, and white (one of my FAV combos to work with!).  I chose various pattern papers from the Bella Armoire stack by DCWV to make my page.  I found a chipboard circle in my stash and added strips of various red papers around it with mod podge.  Then I used my Cricut and my Oriental Iron 2 cartridge to create the black and white die-cut in the background.  After I got that down on the paper, I just started to play!  I used my new Spellbinders Spiral Blossom 2 die to make a couple of layered flowers, adding decorative pearls and brads to the center to finish them off.  Other flowers are by Recollections, aside from two Petaloo colorable flowers that I misted with Distress Stain and Perfect Pearls.  I also added two Prima buttons that I tied twine through.  The number squares in the corner by Basic Grey spell out "I Love You" in numbers :-)  The title "Amore" is by K&Company and I heat embossed it with Garnet embossing powder to match the color scheme.  Doesn't it look "lovely"?!?!?!?
 
Well my friends, thanks for stopping in... Have a LUCKY day :-)