June 2014

June 2014
Showing posts with label chipboard. Show all posts

Friday, March 20, 2015

Handmade Masculine Birthday Card for Creative Embellishments!

Hello there crafters! Just popping in today with a masculine birthday card I made for my dad this month using lots of Creative Embellishment goodies :-)


Here's a look:


I started my card base with my usual Tim Holtz papers as I do for almost any masculine card! I used some distress ink and the Distressed Checkered Stamp to add some accents to my background :-)


I am absolutely LOVING these Basic Alphas so I can spell out anything I like!!! I misted the chipboard black first, then used a white chalk marker to make a "grey-ish" effect.


I used one of the gears from the Steampunk Antique Bike Set to add as an accent behind my "clock"! It was misted with Lindy's and inked with distress ink for my desired effect :-)


I finished by adding some layers in the inside as well... I always go all out for my daddy ;-)


Well gang... Thanks so much for stopping in and have a LUCKY day :-)

Monday, January 5, 2015

"Fly" Mixed Media Canvas for Creative Embellishments!!!!

Hey there crafty friends!!!  I hope you are having a beautiful start to your new year thus far!!!  I'm popping in today with a mixed media canvas using all kinds of Creative Embellishments goodies!

Here's a look:
canvas1


I started by creating my background using various acrylics, mists, and other mediums.  I even used the Punchinella Panel as a stencil to add some depth into my background!
DSC07943


I sprayed some white mist onto some glossy paper and stamped the Circles Bokeh Stamp into it and added some more pattern around the canvas!
DSC08001


I altered the Spread Your Wings title with some white mist and a purple gelato, adding a gradient effect!
DSC07938


The Steampunk Dress Form 2 was primed, then colored using various gelatos.  I added a tiny amount of Luminarte paint on the main piece, used a white Signo pen for accents, then sprayed the entire piece with homemade glimmer mist! DSC07953


I finished the canvas with lots of yummy flowers, using the Butterfly Flair to fill in spots and extend the message of the piece!
DSC07999


Well gang... Thanks so much for popping in and have a LUCKY day :-)
brandi

Wednesday, December 24, 2014

Last Minute Gift Ideas for the Holiday!!!!

Hey there crafty neighbors!!!!  I'm up on the Creative Embellishments blog today with some last minute gift ideas!!!
I'm sure you are just as busy as we are during the holiday season so I will make this short and sweet!!  

Here's a look:
DSC07611

I picked up these frames at my local craft store for about $.30 each.  I painted them, added papers from this month's traditions kit from Frosted Designs and a picture, then embellished for an outstanding gift for the holiday!

For the first one, I used the "Flourish 6" piece which was painted with Luminarte paints, then coated with distress crackle paint for texture.  Once dried, I added gold stickles to the ends of the leaves for accents :-)

DSC07617


DSC07622

For my second piece, I used the word "Amazing" which I sprayed with Maya Road "white out" mist.  Once dried, I used a sharpie brush tip marker on the upper half, then added gold stickles again for accent!

DSC07623


DSC07632

For my last altered frame, I used the "Flourish 22" chipboard piece (one can never have too many flourishes!!!) that I colored using a brush tip sharpie some Luminarte Paint for shimmer.  Once dried, I used my white Signo pen for accents and topped it off with stickles!!!

DSC07646


DSC07653
Well gang...  Thanks so much for stopping in.  Have a beautiful holiday!!!!!
brandi

Wednesday, December 3, 2014

Christmas Wish Box with Creative Embellishments Chipboard!!!

Hello everyone!!  Winter is officially upon us here in the states and with that comes one of my FAV holidays: Christmas!!!!  I LOVE making altered projects this time of year and there's no lack of them this month!! I'm up on the Creative Embellishments blog today with a fabulous idea for the kids this year!

I found an idea for a Christmas "wish box" on the internet a while back and knew immediately I had to have one!!  I browsed my local craft store and found a shadow box with a slit at the top which made it perfect for this idea! I sanded it down and went to work!

Here's a look at the finished piece:
wishbox
I simply adore this box... seriously!!  And my girls absolutely love it!

I started by removing the backing and adding my selected paper (I again chose the 'Vintage Christmas' paper pad by MME... My new fav go-to Christmas paper!), then created a subtle background using the Distressed Burlap Stamp (my absolute FAV stamp of ALL time!) and some Walnut Stain distress ink.


DSC06183


I needed to keep the backing on this as flat as possible (no flowers or bulky embellies) since this was going to be inside the box.  Chipboard was the PERFECT solution!  I started with the "Spiral Tree", coloring it with Lindy's mist, then going over the stars with a gold leafing pen and adding dots with a white Signo pen as well.
DSC06166


I used a combination of distress inks and homemade glimmer mist for my "Flourish Ornaments" until I achieved my desired colors!  Look at all that shimmer!
DSC06197

I finished the backing with some "Chipboard Snowflakes" which were altered with white mist, gel medium, and iridescent glitter!!


DSC06236

I also added more accents with my Signo pen!


And there you have it!  Once project down, several more to go!


brandi

Monday, December 1, 2014

Advent Calendar for Creative Embellishments with MME Vintage Christmas!!!!

Hello everyone and welcome to December!!!!! Can you say... excited?!?! I LOVE this time of year!!!  

A new month means a new challenge over at Creative Embellishments and we have a spectacular challenge!!! Here's this month inspiration photo:

Creating altered projects is my favorite past time but making Christmas projects is just so much more fun!!! I decided to make an advent calendar for my girls this year using a paper mache one I picked up at my local craft store. 

I coated it in white paint, then added my papers from the MME "Vintage Christmas" paper pad (LOVE the colors and patterns in this one!!), adding some depth with the "Distressed Burlap" stamp. I added a bunch of the Chipboard Snowflakes that were misted with white, then coated with gel medium and glitter! I used the leftover medium mixture and a snowflake stencil to create iridescent snowflakes on the back! I colored the "Merry Christmas" title with red distress ink, homemade glimmer mist, and a green Sakura glaze pen. I used the same glimmer mist(a gold shimmer) to color the Christmas Bulb "hanging" from my title! I finished the calendar with the smaller Santa's Sleigh from the pack, using various mists to achieve my desired results!!!

Here are some close-ups:


Well gang... Thanks so much for stopping in and have a LUCKY day :-)

Saturday, November 1, 2014

So Thankful for Family with Creative Embellishments!

Hello everyone!!!  We are already in November (which means Christmas is literally right around the corner) and I am so enjoying this cooler weather! 

I'm here today with a scrapbook layout I created for the NEW November Challenge posted at Creative Embellishments!
Here's this month's inspiration photo:

Oh, how I truly LOVE the colors of Autumn!!  I recently did some "pumpkin painting" with the girls which created the perfect picture for the above photo!!!
Here's my page:

Yes, I know, my girls are beautiful!!!  Yes, I toot my own horn frequently when it comes to my girls.... They are my WORLD!!!!!
I used papers and embellies from the Garden of Abundance kit and We Are Family kit from the Frosted Designs Store.
I started my page by creating my background using a Prima "Rattan" 12x12 stencil and some molding paste.  I kept it pretty simple as the paper does most of the work here!  I added some of the "rings for so many things" from the CE Store which were colored using distress inks and Luminarte Silks Acrylic glazes.


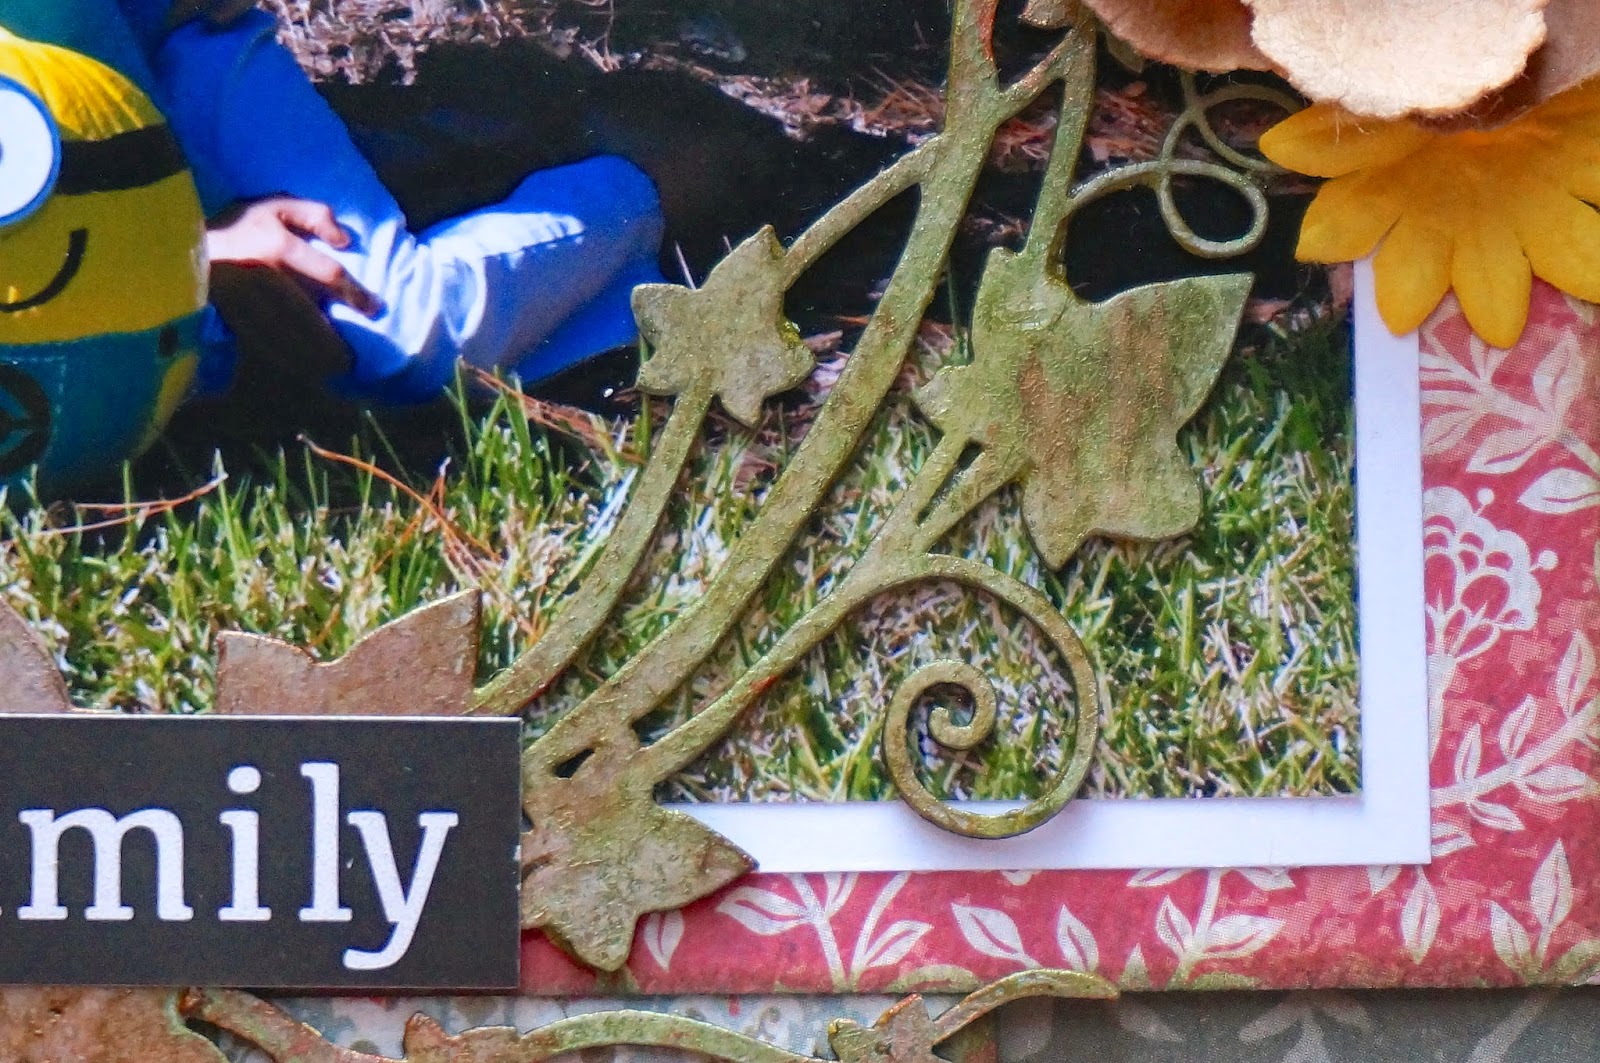
I applied the same technique to the Ivy Wreath, coating it with distress crackle paint for a glazed over look, then using it as a frame for my pic!


I finished the page with some flower clusters and stickers!


Well gang...  Thanks so much for stopping in and have a LUCKY day :-)

 photo 84c064ac-ab01-4e94-bb12-3b3893d8f8eb_zpsabe08004.png

Thursday, October 2, 2014

Altered Witch Hat with Creative Embellishments Chipboard!

Hello everyone!!! I am so excited to announce that I am up on the Creative Embellishments Blog today with my first "solo" post!!! I've made a fabulous Halloween themed project to share :-)

Here's another look at this month's inspiration photo:

And here is my off-the-page project:


I am in love with this month's inspiration photo as Halloween is my favorite holidays to decorate for! I was, of course, inspired by the jack-o-lanterns, bats, and overall "spooky" set up in the background! I pulled some colors from the pic to create this altered witch's hat! 
I first cut a rose from the "Giant Flowers" cart on my Cricut Explore. I distressed the flower (which started as regular pattern paper that was misted, inked, sprayed, and attacked with a ton of glitter!!!!) and edges of all the papers, as well as the chippies!

I used several 1 1/2 gears and inked them, misted them, then coated them with crackle distress paint in rock candy.


I applied the same treatment to the Flourish 15, using orange and black based distress inks and rock candy distress paint.


There you have it!  My first Halloween project of the year!!!!


Well gang... Thanks so much for stopping in and have a LUCKY day :-)