
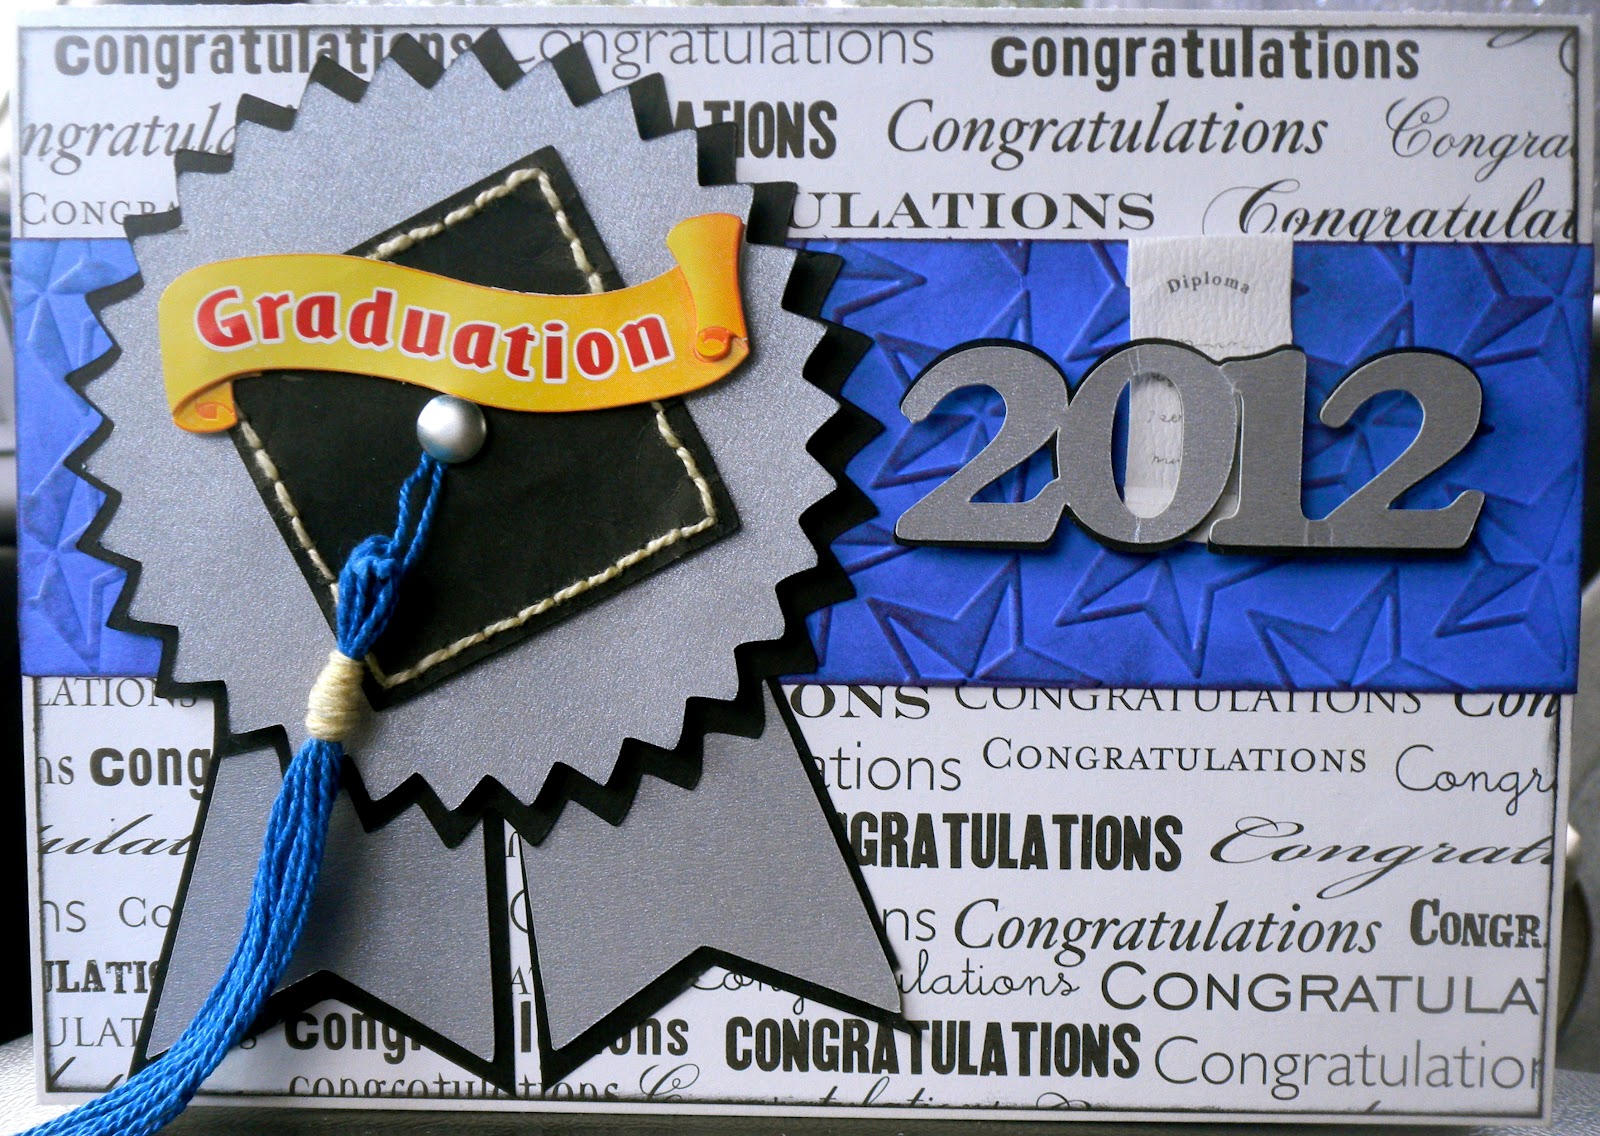
So I'll start with a graduation card I made for my younger sister (can't believe she's graduated!!!). For the front, I started with a standard 5x7 card with white cardstock then added left over patterned paper from her last project (gotta love those scraps!) that says congratulations. Then I embossed purple cardstock with a Cuttlebug stars embossing folder and inked it with Tim Holtz distress ink in Dusty Concord. I made the "award" sentiment and the "2012" on the Cricut using black and silver cardstock. I also cut out a standard square with black cardstock and hand stitched around the edges, added a brad to the middle and attached a "tassel" I made from blue and cream colored embroidery thread to replicate the top of a grad's cap. The yellow Graduation sticker is from a pack of Recollections stickers.
For the inside I used the same purple cardstock as the front and added a vellum quote that I adhered to patterned paper and attached some more grad sticker embellishments. I stamped a quote to the bottom left that says "Chase your dreams, you might catch one" from a clear pack I purchased at Joanns. The grad caps were made from the "Happy Graduation" cartridge on the Cricut.

For the back I used the same purple cardstock with the same starts embossing folder and inked this up as well. Added a grad cap from the same cartridge in the black and silver cardstock and added a "Dream" rhinestone sticker that I purchased out of Michaels dollar bins!!!! Beautiful isn't it???


Here's the envelope I made out of clearance cardstock from Michaels and left over stickers and die cuts.

This is a birthday card I made for my husband (Happy Birthday Baby!!!!!). I love the colors as they fit his style to a "T"!!!! I started by cutting the beautiful paper here down to size for 5x7 card. I embossed white cardstock with a Tim Holtz Sizzix embossing folder called "Rays" and attached it to the front. The ribbon was purchased from the clearance bin at Walmart. As I've said before, I am a bargain shopper!!! I added the vellum quote from the DCWV Celebrations quote stack and two buttons on the ribbon. The sticker letters are from a Recollections pack I purchased at Michaels.

On the inside left, I added a black piece of cardstock I embossed with the Happy Birthday Cuttlebug embossing folder and added the guitar embellishment (my husband and I have a "thing" for guitars as this is how we started dating) and a Bravissimo sentiment that says "Happy Birthday to you". The quote on the bottom is a stamp from the dollar bins at Michael's atop of vellum and red polka dot patterned paper. The silver and black swirly-doos are stickers from Sticko. On the right side I used the same patterned paper and two different transparent sayings from a "love themed" pack from Joanns. The vellum quote was from another DCWV quote stack and was perfect for me and my husband!!!! I added some buttons and sheer black ribbon, stamped a birthday celebration stamp with a Versamark Watermark ink pad in Champagne, and that completes that!


The back just has a quote from a pack I purchased at Joanns and was perfect. It reads, " If you live to be 100, I want to live to be 100 minus one day so I never have to live without you." Winnie the Pooh (How AMAZING!!!!! LOVE IT!!!!) :-)

Last but certainly not least, I made a tag for the "Tag of the month challenge" over at Colorful Creations. The object was to create a tag using inks, two different ribbons and flowers of some sort. I love how bright and vibrant this tag came out!!! I started by using a Tim Holtz Rays Sizzix embossing folder on a standard No. 8 tag then used several different Tim Holtz distress inks (Wild Honey, Spiced Marmalade, Spun Sugar, and Worn Lipstick) until I got the color "right". I added a Palm tree sticker out of a "vacation themed" pack (can't remember which brand) and added 3D dots behind it. I cut out a circle from the Garden Party mat stack (Die cuts with a view) and put the Palm tree sticker on top of it. I added a strip of flowered ribbon and bordered it with vibrant pink rick rack to make it stand out! I then put an oval shaped "bamboo" summertime embellishment from a Martha Stewart Tropical Phrases and Frames pack and added a tiny strip of yellow cardstock in the middle. Then I glued some pink and green striped flip flops in the middle and added a "summer hat" in the left hand corner. Lastly, I decided on adding the vellum "photo" corners to make the center of the tag really pop. And there you have it!!!! A super bright fun tag!!! Hope you enjoy :-)

No comments:
Post a Comment