
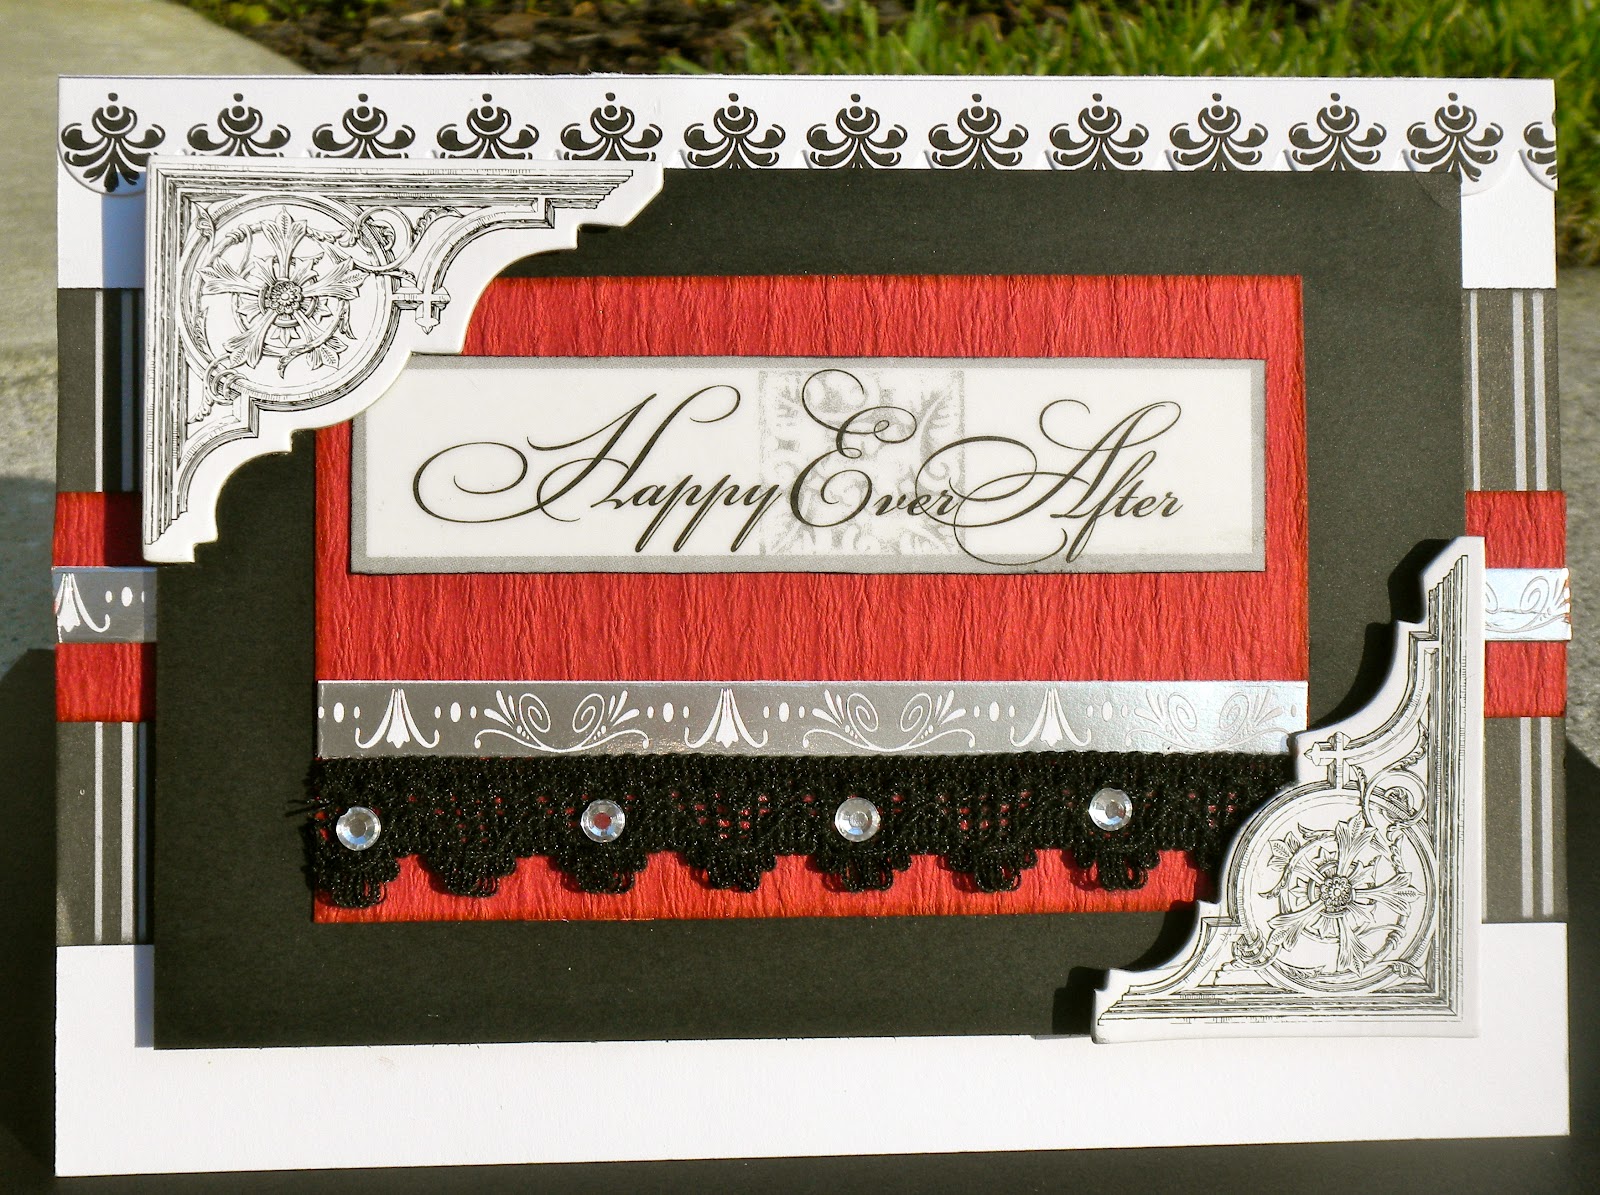
For the DT Call Challenge I had to create three never-before-seen projects. So off to scrap I went. My first design was a card. Rather simple to tell the truth, but the simplicity made it elegant which was nice. I started by cutting white cardstock down to a 5x7 card. I added a four inch strip of black striped pattern paper and centered it on the front of the card, then topped it off with a two inch piece of red textured cardstock. Then I attached a border to the top of the card and atop of the red cardstock from a K&Company borders pack. I cut a 4x6 black piece of paper and used 3D dots to make it stand out. The edges on the black cardstock are from a Recollections "card making" pack (On clearance for $1.49 at Michaels!!!!) as is the black lace on the front. The silver border is from the remnants of the one used on the bottom and the vellum quote is from a "Wedding themed" DCWV book I purchased some time ago. Makes a beautiful wedding card, doesn't it?
For my second project, I decided to do a layout of my younger sister on her prom night. I wanted to show my bright and girly side which is very apparent with the vibrant pink and purple hues. I started with a white and black swirly 12x12 paper and topped it off with a piece of 10x10 white glittered cardstock. The purple flowered die-cut was made from the Cricut and I inked the edges and removed every other piece to make it stand out. I matted both the pictures with specialty silver shiny paper from K&Company and added black and melon colored paper as well. I used a border punch by EK Success for both the top and bottom borders and a lace border punch by Recollections for the frame around the top photo. The embellishments are from several different Jolees packs and the letters are red Thickers. I topped it off with paper flowers in the corner and added some bling and voila! Prom Night is alive once more!!

Last, but certainly not least, for my last project I decided to show my lighter and softer side. Given I have two beautiful girls, its only natural that must scrap with pale pinks, greens and yellows. And that's exactly what I did here. I absolutely LOVE how this page came out. This "style" is a first for me but I really enjoyed taking this one on. I also learned how to make the rolled up paper roses on this one and they really make the page. The things you can learn on the internet! I started with a 12x12 paper and started making flowers and picking embellishments to really pick up all the beautiful colors on the background paper. (I'll have to get back with you on which collection this is from). I cut a border from a deep edge flower punch in the red color you see and made a pink a green die cut for behind the photo. I matted the photo on several different pieces of paper, most of the papers used on this page are from the K&Company 360 sheet paper pad. I added a few sentiments and a journaling card and voila!!!!! There you have it... My beautiful girl on a beautiful page. Well, hope you've enjoyed yourselves! Now go have a LUCKY day :-)

Hi Brandi,
ReplyDeleteCongrats on getting in on the DT .You are going to do so well and your creations are all so awesome. I'll be looking forward to your design and challenges. Now that you area DT I can feel your excitement! Great job and see you around the site,!!!! :>)
Thank you so much!!!! You guys have been SUCH an inspiration to me. I really appreciate your help and kind words. I am very excited about the position and am thinking hard on my first challenge!!!! See you around Mo :-)
ReplyDelete