June 2014

June 2014
Showing posts with label distress ink. Show all posts

Wednesday, March 19, 2014

Spring Cleaning with Foam Board Storage!!!!

Hello there my crafty friends!!!!  I hope you are having beautiful weather like we are here in the sunshine state!!!

I came across this page the other day and it was talking about foam board storage.  NEVER, have I EVER, thought about that!!!!  I put it in my search engine and BAM!!!!!  TONS of crafty people just like myself have made alls sorts of organizational pieces for their craft area using foam board!!!!!  What an idea!!!

So, you know what comes next, right?!?  Yes... I went out and bought six pieces of foam board and got to work!!!  No, my pieces aren't perfect by any stretch of the imagination... It's a learning process indeed...But they are sturdy!!! VERY much so!!!!

I've been wanting to organize my Distress Inks for a while now.  I have tons of them and have them all laid out in rows.  The problem is that they take up soooo much space that way!!!! Well, not anymore :-)

Here's a look at my ever-so-crooked distress ink tower:


I even had a few spots left for some of my Staz On inks!!!  Now, this is not ALL of my inks.  Between my Stampin Up! pads, Memento, Staz On, Embossing Inks, and so forth, I could certainly use at LEAST one more of these!!!!  You have to make different ones for each brand of ink, depending on dimensions :-)

I even used my labeler to label each shelf with the respective ink:


I've been working with them long enough that I don't need swatches on the side.  I use these inks on EVERYTHING and am VERY familiar with each and every color I own :-)

Now, I said I purchased six boards, right?!?  So there was plenty left over to do something about my Spectrum Noir markers!!!  I built a piece about a year ago that consisted of three wine racks and several plastic cups.  It's held up just fine, but again, it's a matter of space (Of which I have very little!).  After making my first piece, I moved right on to the next one.  Here's a look:


I had one extra space that was a perfect fit for all of my Distress Markers as well!!!!


Well gang....  Thanks so much for stopping in and have a LUCKY day :-)


Sunday, January 5, 2014

Sketch N Scrap Card Sketch #17 with Simple Stories Handmade Holiday!

Hello all and happy Sunday!!!  It's a bit chilly here in the sunshine state and only expected to get cooler over the next few days :-)

"Celebrate Dec 25" with Simple Stories "Handmade Holiday"
A new card sketch has been posted at Sketch N Scrap... Card Sketch # 17!!!  I had so much fun playing the Simple Stories "Handmade Holiday" on my last layout that I couldn't help but make a card with it :-)

Here's a look at the new sketch:


I moved the "middle" of the sketch to the left side of my card and here is what I came up with:


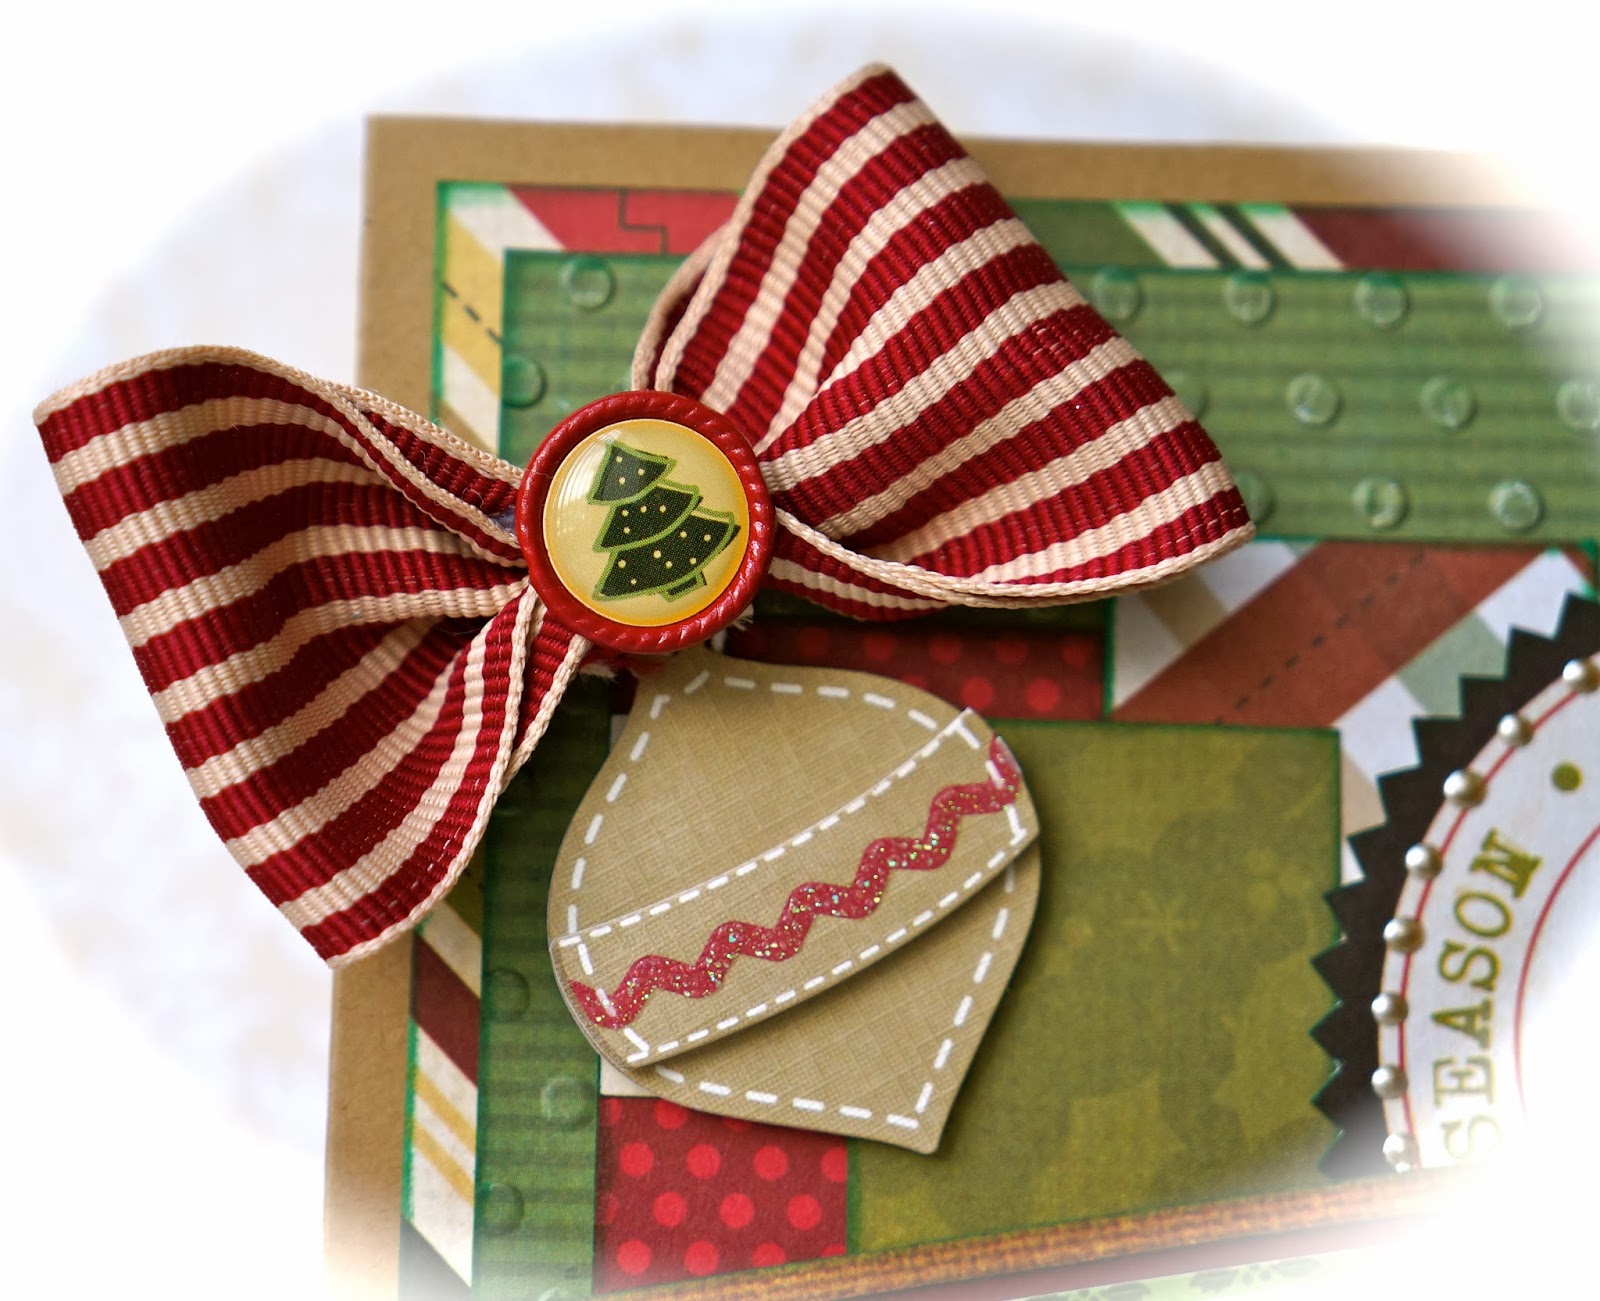
Isn't it just adorable?!?  This paper pad is full of elements to be cut out and that's exactly what I did!!! 
 I started by laying my background pieces, using my Polka Dots embossing folder for the green one.  I used Pine Needles Distress Ink to ink all the edges and I really love the effect :-) I fussy cut the "Joy" and "Dec 25" pieces from the pad, and added metallic Liquid Pearls for added detail.  The bow was made from remnants of a package I received over Christmas (Thanks Barb!!!) and I "hung" an ornament below it by Martha Stewart.  
Here are some close-ups:


Stay tuned for my first project with Frosted Designs on the 7th!!!!

Well gang...  Thanks sooo much for stopping in and have a LUCKY day :-)


Friday, June 14, 2013

SYS Challenge # 16... Making Waves!

Happy Friday gang!!! Another week has passed us by and we FINALLY had some sunshine here in Florida!!! I didn't think the rain would EVER let up!!! Just to give you an idea of a view outside my Townhome the past two weeks, I took a pic:

This is literally ALL I've seen for TWO WEEKS!!!! Are you serious?!?  Jeez... Can't a girl get some rays around here?!?!?

Any who, the rain has let up and the sun has undoubtedly come out to play again :-)  And that, my friends, makes me one very happy girl!!! :-)

"Explore Shamu"
Well, being that it is Friday, that means we have another wonderful challenge over at Scrap Your Story!!!  This week, following tradition, is a sketch:

I printed some beautiful photos I took on a recent trip to Sea World and brought them to the table!  Here's what I've come up with:

LOVE this page!!! These K&Company pattern papers were a perfect fit!!! I layered them up as usual, inked all the edges with various distress inks, and stayed pretty true to the sketch.  I hand-cut some flourishes and inked them with "Peacock Feathers" distress ink, then went over them with white liquid pearls.  The "Explore" title was stamped on white cardstock, inked, cut, then pop-dotted (have we made this a word?!?!) to the page.  I also used my circle punch to cut some circles from coordinating paper and added them.  The chipboard letters are by The Girls Paperie and were colored using a "True Black" Spectrum Noir alcohol marker.  I also added some liquid pearls (I keep wanting to call them perfect pearls so if you see that in a post, know that my mind will return shortly!! Hahahaha!!!) to them for added effect!  I made a "bubble" border using a punched border and some distress ink.  Simple, but sweet :-)

"Best of Times Tim Holtz style Birthday Card"
My husband's birthday was on the ninth and I decided to make him a "Tim Holtz" style birthday card.  This is also used for my monthly Card Challenge over at Colorful Creations and my Twisted Thursday Challenge over at Sketches4All.  This month's challenge is to use the "Resist" technique somewhere on your project.  There are many different ways to do this and I will include a link below for my curious visitors!!! Here is the card:

I started by misting, distressing, and inking some kraft cardstock.  Here's a look:


Then I embossed and sanded a piece of Coordinations cardstock using the Cuttlebug Hexagon embossing folder.  For the "resist" part of my card, I stamped a "clocks" image on Ranger Glossy Paper, then clear embossed it.  I then used various distress inks to go over it until I achieved the desired effect.  I also stamped the Tim Holtz "man with the umbrella" on kraft cardstock, and 7Gypsies "Best of Times" quote.  I added various metal gears (also by Tim Holtz) and a wooded piece by The Little Yellow Bicycle.  There you have it!!! A "manly" card for the "manly" man... Hahahaha!!!!  

Well gang, thanks for stopping in and have a LUCKY day :-)