June 2014

June 2014

Friday, January 31, 2014

Let's Get Sketchy With Pink Paislee and Heidi Swapp!!!!

Hello there my fellow crafters!!!  It's been a very cold, wet week here in sunny Florida!  Guess the "sunshine state" is not living up to its name!!!  

I've been busy working on a few projects lately, two of which are layouts for Let's Get Sketchy's weekly sketches!  

Grand Cayman layout using Heidi Swapp "Travel"
The first layout was made using LGS Week #2 sketch.  Here is a look at that one:


This was a very fun sketch to play with!!!  I chose to do another page for my Father's vacation album using the Heidi Swapp "Travel" paper pad.  Here's a look:


I'm trying to stick with a more "masculine" look for this album which is something I really need to work on!!!  I used some Lindy's and Dylusions mists on the background, as well as Distress ink and a stencil for all the circles.  I outlined everything with a black sharpie for contrast, and embellished lightly!  Another one bites the dust!!! Hahahaha!!!!!


"True Story" with Pink Paislee "Colorwash" Line
Next on my list is a SUPER FUN page I made for LGS Week #4 sketch.  
Here is the sketch:


And my super fun page:


Doesn't this scream "fun"?!?  This is my oldest daughter fishing with my husband in our backyard.  
I used the Pink Paislee "Colorwash" paper line and one of the coordinating tags ("True Story") for my papers.  I cut some stencils on my Cricut Expression 2 and went over them with molding paste.  I added some Lindy's magicals and Distress Stains to the paste until I reached my desired colors before adding it to the background.  I really just "free handed" the stencils, trying to make a full circle in the back with different lengths and shapes.

Here is a close-up of the background technique:


I'm also addicted to these Kaisercraft "Blooms" found in the Frosted Designs Store!  They are just gorgeous and with a little Lindy's, you can alter the colors to coordinate with your projects :) 


I lightly wrapped this Studio Calico "Love You" piece in handmade twine (thread and Spectrum Noir marker, PP2) and laid it loosely on the page.  


I finished with a little handwritten journaling (one of my goals for this year is to add more journaling to the FRONT of my pages!!!) on coordinating paper and going around each piece with a white Sakura Gelly Roll Pen for a "faux" stitched look.


I have some very exciting news coming to you on February 5th so be sure to check back!!!!

Well gang...  Thanks so much for stopping in and have a LUCKY day :-)


Thursday, January 23, 2014

Sketch N Scrap Card Sketch #18 and Sweet Deals at FD!!!!

Hello all and happy 'hump' day!!! I have been super busy lately creating all kinds of fabulous projects for February!!!  I can't wait to share them with you!!!  I may also have a giveaway on my blog next month (*wink) so stay tuned :-)


I'm here with a quick post today to share a card for Sketch N Scrap Card Sketch #18

Here is a look at the sketch:


I made a clean and simple card here which is pretty unusual for me!!!! Here's a look:


I used the Fancy Pants "Timbergrove" 6x6 paper pad to create the card and feathers.  I cut the feathers on my Cricut Expression 2 using the Thanksgiving cartridge and inked the edges for contrast!!!
I finished it with a doily and sentiment by Stampin Up!


I have recently started designing for Frosted Designs Online Scrapbook store and Kit Club.  You guys HAVE to check out their AMAZING kits!!!!  Everything just flows together so nicely... All you need is the kit to create tons of fabulous projects!!!!  If you shop before Monday, you'll get 50% off any one kit!!!  Just use KIT50 at checkout and let them know I sent you :-)

Elle's Studio has arrived!!!!!!!!


Elle's Studio has arrived!!!!  The NEW "Love You More" Collection is in store and ON SALE!!!!  That's right... 10% off all Elle's Studio products!!! NO CODE REQUIRED!!!

Well gang...  Thanks sooo much for stopping in and have a LUCKY day :-)


Friday, January 17, 2014

Frosted Designs Polka Dot Challenge Posted!!!

Happy Friday everyone!!!!  What a beautiful Friday it is here in sunny Florida!!!  A little chilly, but beautiful all the same!!!

Well, today is Friday and it just so happens that the Friday challenge is up and running at Frosted Designs!!!  The challenge is to use Polka Dots on your project...  That's right... I said "project"!!!  One thing I LOVE about FD is that you can submit any type of project, so long as it meets the challenge criteria.  Isn't that fabulous?!?

"Rockstar" Layout using Pink Paislee "Hey Kid" line
Any who, as I said, this challenge is all about polka dots.  I recently ordered the "Hey Kid" Kre8vt Kit by Pink Paislee (Found in the Frosted Design's Store) and decided to bring it out for play on this one.  The papers and embellies are soooo fun and perfect for those everyday photos!!!

I also used the sketch from Stuck?! Sketch and the previous challenge requirements of ink, paint, or mists as FD has joined with them this month!!!  Here's a look at the sketch:

Lord know I can never take a sketch at "face value" so I flipped it and tweaked it and this is what I came up with:


Yes, this is my youngest... and my Diva!!!  These were taken at her 3rd Birthday Party back in August :-)
This page was pretty easy as I did follow the sketch pretty well (for me!).  I used paper by Recollections for my background and to mat my photos.  I created the "journal" piece to the left by taking one that was already pre-made and adding embellishments and stickers.  I also outlined everything with a black sharpie so it would stand out against the busy bg paper at the top.  


I used my 2 inch circle punch and one of the pattern papers in the kit to create the circles at bottom, also outlining them with the sharpie.  I love the Heidi Swapp "honeycomb" stencil (also found in the FD Store!) and decided to use it with various distress inks to create some detail on the bottom.  


I finished the page with some scrunched ribbon, letter stickers included in the kit, and arrow stickers.  


Well gang...  Thanks sooo much for stopping in and have a LUCKY day :-)


Wednesday, January 15, 2014

Colorful Creations Blog 1st Design Team Reveal!!!!

Hello all!!!  Happy "hump" day :-)

Today is a BIG day for the "new" Colorful Creations...  It's our very first Design Team Reveal for the new blog format!!!  Isn't that exciting?!? Here's how the blog site will work... A new challenge will be posted twice a month, on the 1st and 15th.  Each challenge will be one of the following:

Sketch
Word
Inspired By
Plus Challenge

The challenges will run for the entire month with a random winner selected at the end of each month. In order to qualify for the prize you will have to participate in at BOTH of the challenges.

"Christmas Morning" with Heidi Swapp "Believe Collection
The first challenge is up and it's a sketch by Brenshevia herself!!!  Here's a look:


I just had to play with the Heidi Swapp "Believe" paper collection... So fun!!!
And here is my page:


I inverted the sketch and went to work!!!

The background paper was already very pretty so I didn't want to cover it up too much.  I added a couple of snowflakes using a stencil and a white Gelato, and a couple half circles using black Enamel Accents by Ranger.  I cut out some tid-bits from the collection and added them to the page.  I finished with Heidi Swapp glitter letters and Thickers for my title. 

Well gang... Thanks soooo much for stopping in and have a LUCKY day :-)


Saturday, January 11, 2014

Let's Get Sketchy with Sketches4All Winter Wonderland Challenge!!!

Hello everyone and HAPPY FRIDAY!!!! A little late I know... But I hope you enjoy your weekend all the same :-)

"Merry and Bright" with Pink Paislee "Noel" Paper Pad
Today I'm sharing with you a layout I recently created for the Let's Get Sketchy January Week 1 Sketch.  I am also combing this with the Sketches4All Winter Wonderland challenge where Anything goes so long as it meets the theme criteria and the following photo for inspiration:

Here's a look at the fabulous sketch by Brenshevia:


And here is my "Winter Wonderland" Layout:


I absolutely LOVE this sketch and the Pink Paislee "Noel" paper pad together!!!  It was actually a pretty simple page, only dressing it with a few embellishments and putting my punches to work! This is a photo of me and my husband on Christmas Day last year :-)
I started by outlining most of the papers and photo with a Silver Sharpie marker, then used a shimmery silver background paper to add the silver from the inspiration photo.  
I used a craft knife and a ruler to make the large "chevrons", outlining them also to make them stand out.  I finished it with chipboard by Studio Calico and Blue Fern studios, inking and embossing on the larger pieces.
Here are a couple of close-ups:


Well gang...  Thanks soooo much for stopping in and have a LUCKY day :-)


Tuesday, January 7, 2014

Bella Blvd "Snapshots" Mini Album for Frosted Designs!

Hello all!!! I hope you had a safe and fabulous start to your New Year :-)


I cannot even express how excited I am to be sharing my first post here with Frosted Designs!!! I am delighted to be on a team with such a talented group of ladies!!!

Bella Blvd "Snapshots" Mini Album 
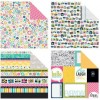
As my first project here on the team, I decided to make a cute little Mini Album using the Bella Blvd. "Snapshots" collection! This collection is full of cute patterns and tons of elements and tidbits for "fussy cutting"! It's absolutely perfect for scrapping "everyday" type photos of friends and family :-)


I started by using my Super 8 punch and some grungepaper to create the die-cut shape base of the album. Then, I got to work!!! One of my favorite mediums to work with is Mod Podge... And there is no lack of it used here :-) I used the mod podge to adhere the pattern paper from the collection to the grungepaper. (Tip: if you want to ink the edges of your paper, you must do so before applying mod-podge!!! It is a sealer and will not allow you to ink once applied)

After I got all my paper down, I added my photos and began to embellish. 


The coordinating sticker papers and die-cut packs for this collection are a must-have!!! As you can see, I outlined all the pictures and most of the stickers and die-cuts with a black sharpie marker. You will find this is one of my FAV techniques :-) I think it makes everything stand out a lot more!


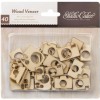
The little wooden cameras by Studio Calico also go perfectly with this collection... It is called "Snapshots" after all!


There are so many wonderful stickers that I couldn't help but add a ton! I enjoyed using the die-cut pieces as well to add detail behind my photos.


These cameras are actually part of a "border" piece that comes with the "pattern paper pack". I fussy cut them, outlined them, and used pop-dots behind the middle one for dimension. Aren't they adorable?!?


I used another "border" piece to create some washi tape... Simply add clear scotch tape to the top of the paper you want to use, set it in some water for about ten minutes, then rub your fingers across the back of the tape until it's smooth. The desired pattern remains on the tape, but this gives it a "transparent" effect much like washi tape!

I finished the album by fussy cutting some "houses" from one of the pattern papers and adding them to the back. I added a quote piece, some stickers, and another of those darling cameras! 


Thanks so much for stopping in and have a LUCKY day :-)

Products found in the Frosted Designs Store


Sunday, January 5, 2014

Sketch N Scrap Card Sketch #17 with Simple Stories Handmade Holiday!

Hello all and happy Sunday!!!  It's a bit chilly here in the sunshine state and only expected to get cooler over the next few days :-)
"Celebrate Dec 25" with Simple Stories "Handmade Holiday"
A new card sketch has been posted at Sketch N Scrap... Card Sketch # 17!!!  I had so much fun playing the Simple Stories "Handmade Holiday" on my last layout that I couldn't help but make a card with it :-)
Here's a look at the new sketch:


I moved the "middle" of the sketch to the left side of my card and here is what I came up with:


Isn't it just adorable?!?  This paper pad is full of elements to be cut out and that's exactly what I did!!! 
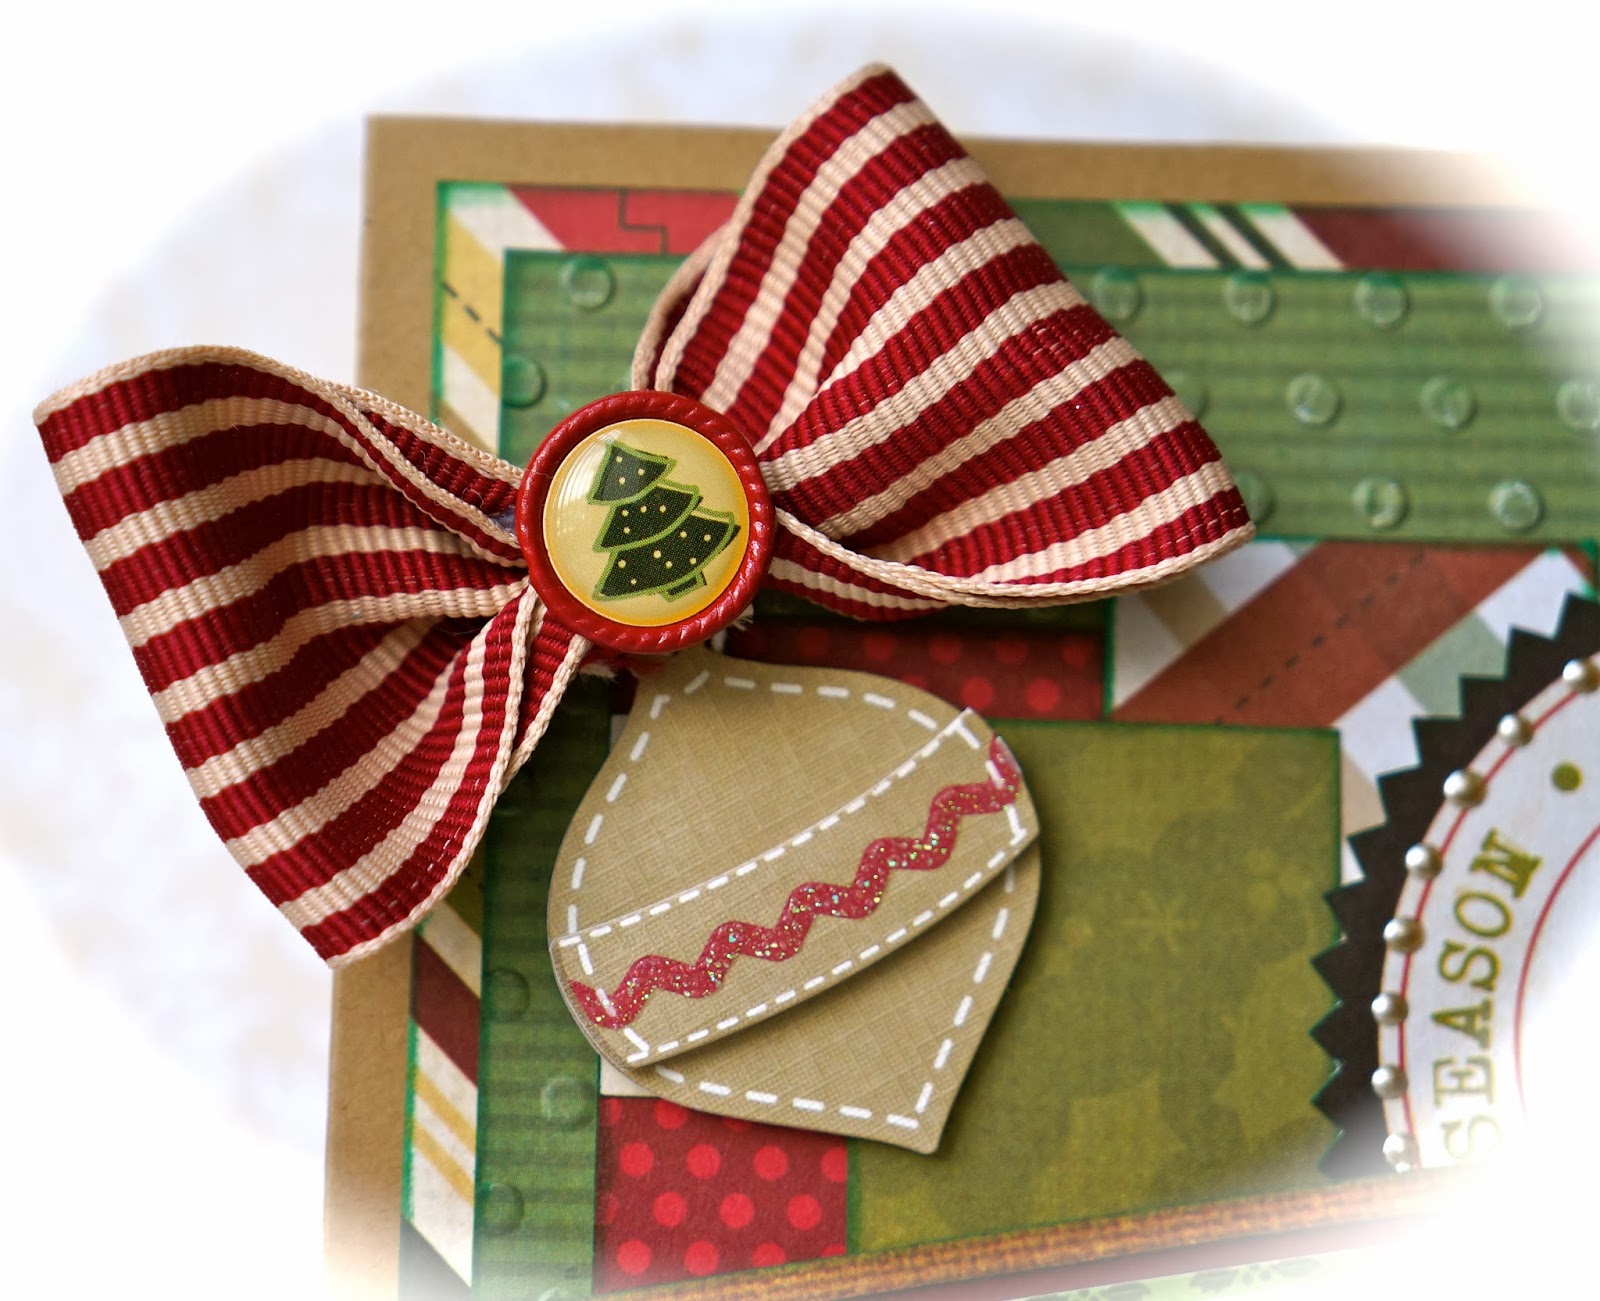
 I started by laying my background pieces, using my Polka Dots embossing folder for the green one.  I used Pine Needles Distress Ink to ink all the edges and I really love the effect :-) I fussy cut the "Joy" and "Dec 25" pieces from the pad, and added metallic Liquid Pearls for added detail.  The bow was made from remnants of a package I received over Christmas (Thanks Barb!!!) and I "hung" an ornament below it by Martha Stewart.  
Here are some close-ups:


Stay tuned for my first project with Frosted Designs on the 7th!!!!

Well gang...  Thanks sooo much for stopping in and have a LUCKY day :-)